This post contains affiliate links. As an Amazon Associate, I earn from qualifying purchases. This comes at no extra cost to you.
This Garlic Dill Pickles Recipe for Tangy Snack Lovers delivers crisp cucumbers infused with aromatic garlic, fresh dill, and vibrant spices. Each bite is a bold mix of tangy brine and crunchy texture, making it an irresistible snack or side. Perfect for pickle enthusiasts, these homemade pickles are easy to prepare and bursting with flavor.
Table of Contents
- Why This Garlic Dill Pickles Recipe for Tangy Snack Lovers Works
- Everything You Need for Garlic Dill Pickles Recipe for Tangy Snack Lovers
- How To Make Garlic Dill Pickles Recipe for Tangy Snack Lovers Step by Step
- The Simple History Behind Garlic Dill Pickles
- Ingredient Swaps for Garlic Dill Pickles
- What To Pair with Garlic Dill Pickles
- How To Store Homemade Garlic Dill Pickles
Why This Garlic Dill Pickles Recipe for Tangy Snack Lovers Works
- Quick preparation makes it ideal for busy lifestyles. With just 10 minutes of prep and simple steps, homemade pickles fit seamlessly into your day.
- No special equipment required – only basic kitchen tools and clean jars. This recipe empowers anyone to craft flavorful pickles without hassle.
- Customizable spice levels cater to every preference. Add or skip red pepper flakes to achieve just the right amount of heat for your palate.
- A healthier alternative to store-bought varieties. Fresh ingredients mean fewer preservatives and more authentic flavors.
Everything You Need for Garlic Dill Pickles Recipe for Tangy Snack Lovers
- 6 small cucumbers (pickling cucumbers preferred)
- 4 cups water
- 2 cups white vinegar
- 3 tablespoons kosher salt
- 6 cloves garlic, peeled and smashed
- 6 sprigs fresh dill
- 1 tablespoon black peppercorns
- 1 tablespoon mustard seeds
- 1 teaspoon red pepper flakes (optional)
Fresh dill is essential to this recipe, providing its signature herbal brightness and pairing perfectly with garlic for a robust flavor. Using pickling cucumbers ensures a satisfying crunch in every bite.
How To Make Garlic Dill Pickles Recipe for Tangy Snack Lovers Step by Step
- Wash the cucumbers thoroughly and trim off both ends. This step keeps the cucumbers fresh and prevents bitterness.
- In a medium saucepan, combine water, vinegar, and kosher salt. Heat over medium heat until the salt dissolves completely, then remove from heat and allow the brine to cool slightly.
- Prepare 3 pint-sized jars by washing them with hot water and ensuring they are clean and dry. Properly sterilized jars help maintain the quality of the pickles.
- Place 2 smashed garlic cloves, 2 sprigs of fresh dill, 1 teaspoon black peppercorns, 1 teaspoon mustard seeds, and a pinch of red pepper flakes into each jar. Adjust the amount of red pepper for spicier pickles.
- Pack the cucumbers into the jars tightly, with minimal empty space but no crushing. This maximizes brine absorption and ensures even flavor.
- Pour the cooled brine into each jar, covering the cucumbers completely. Leave about 1/2 inch of headspace at the top to prevent overflow when sealing.
- Seal the jars tightly with lids and refrigerate. Let them sit for at least 24 hours to develop the flavors, though they are best enjoyed after 2-3 days.

The Simple History Behind Garlic Dill Pickles
Pickling dates back thousands of years as a preservation method used by various cultures. Garlic dill pickles specifically gained popularity for their flavorful combination of bold spices and tangy brine.

Speeds up prep work like smashing garlic or slicing cucumbers evenly.

Essential for storing and pickling — these jars are perfect for this recipe.
Today, they are enjoyed globally in countless cuisines, celebrated for their versatility and ability to enhance hearty meals or serve as a refreshing snack.
Ingredient Swaps for Garlic Dill Pickles
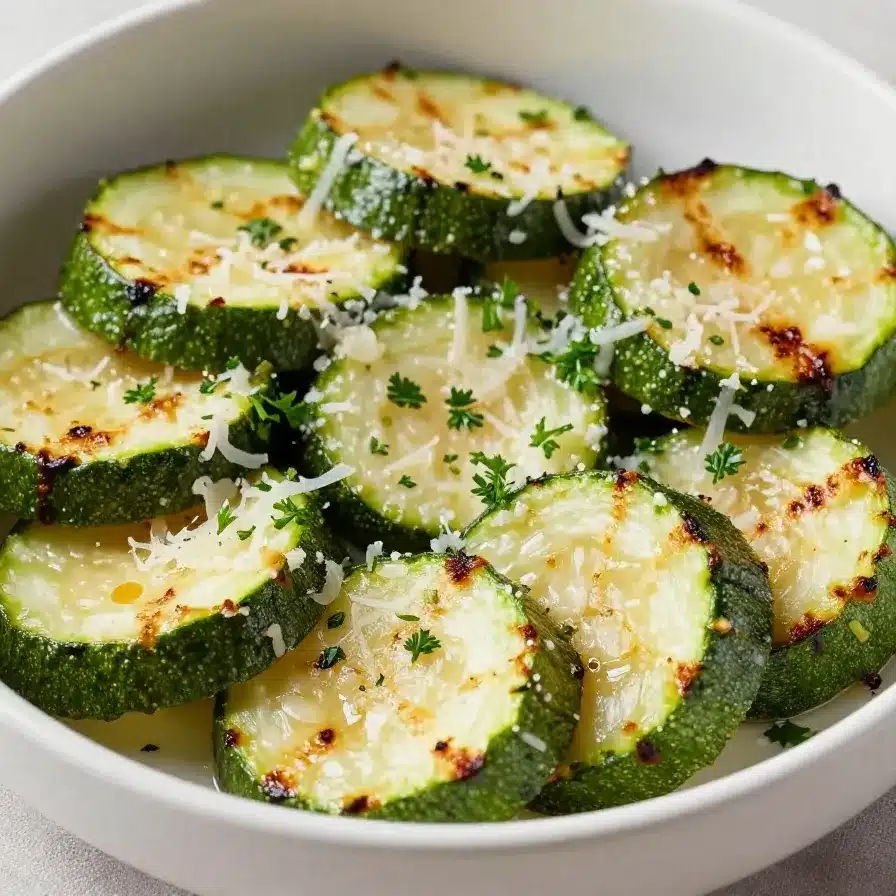
- Swap pickling cucumbers for thinly sliced zucchini for a softer texture while maintaining the tangy flavor.
- If fresh dill isn’t available, use 1 teaspoon dried dill weed per jar for a similar herbal note.
- Replace red pepper flakes with crushed black pepper for a milder spice profile.
These substitutions retain the essence of the Garlic Dill Pickles Recipe while accommodating pantry limitations.
What To Pair with Garlic Dill Pickles
- Serve alongside our garlic butter ham and cheese sliders for a savory, tangy contrast.
- Add them to burgers or sandwiches for an extra layer of crunch and acidity.
- Pair with charcuterie boards to cut through rich cheeses and cured meats.
- Enjoy as a snack with chilled sparkling water for a refreshing treat.
The bold flavors of these pickles complement a variety of dishes, accentuating their savory profiles.
How To Store Homemade Garlic Dill Pickles
Refrigerate the sealed jars immediately to maintain freshness and crispness. Properly stored, these pickles can last up to 2 weeks in the fridge.
For longer storage, ensure jars are tightly sealed and avoid frequent openings. Always use a clean utensil to retrieve pickles, preventing contamination.
Though freezing isn’t recommended for pickles, their simple refrigeration method makes them incredibly convenient for everyday enjoyment.

Garlic Dill Pickles Recipe for Tangy Snack Lovers
Ingredients
Method
- Wash the cucumbers thoroughly and trim off both ends.
- In a medium saucepan, combine water, vinegar, and kosher salt. Heat over medium heat until the salt has dissolved, then remove from the heat and let the brine cool slightly.
- Prepare 3 pint-sized jars by washing them with hot water and ensuring they are clean and dry.
- Place 2 smashed garlic cloves, 2 sprigs of fresh dill, 1 teaspoon black peppercorns, 1 teaspoon mustard seeds, and a pinch of red pepper flakes (if using) into each jar.
- Pack the cucumbers into the jars tightly, ensuring there is minimal empty space but not crushing them.
- Pour the cooled brine into each jar, covering the cucumbers completely. Leave about 1/2 inch of headspace at the top of the jar.
- Seal the jars tightly with lids and refrigerate them. Allow the pickles to sit for at least 24 hours before eating for the flavors to develop, but they are best after 2-3 days.
Notes

Loved this recipe? Save it to your favorite Pinterest board so you can easily find it later! ✨

Hi there, I’m chef living in New York City. Every morning, I wake up to the sounds of my little one’s laughter and the comforting routine of preparing breakfast for my family my husband, our child, and my beloved mother, who’s become both my rock and my inspiration since my father passed away. As the only daughter left in our family, I feel a deep responsibility to carry on his memory whenever I step into the kitchen.
- Dominique

- Dominique
- Dominique
- Dominique

 Recipe 2")