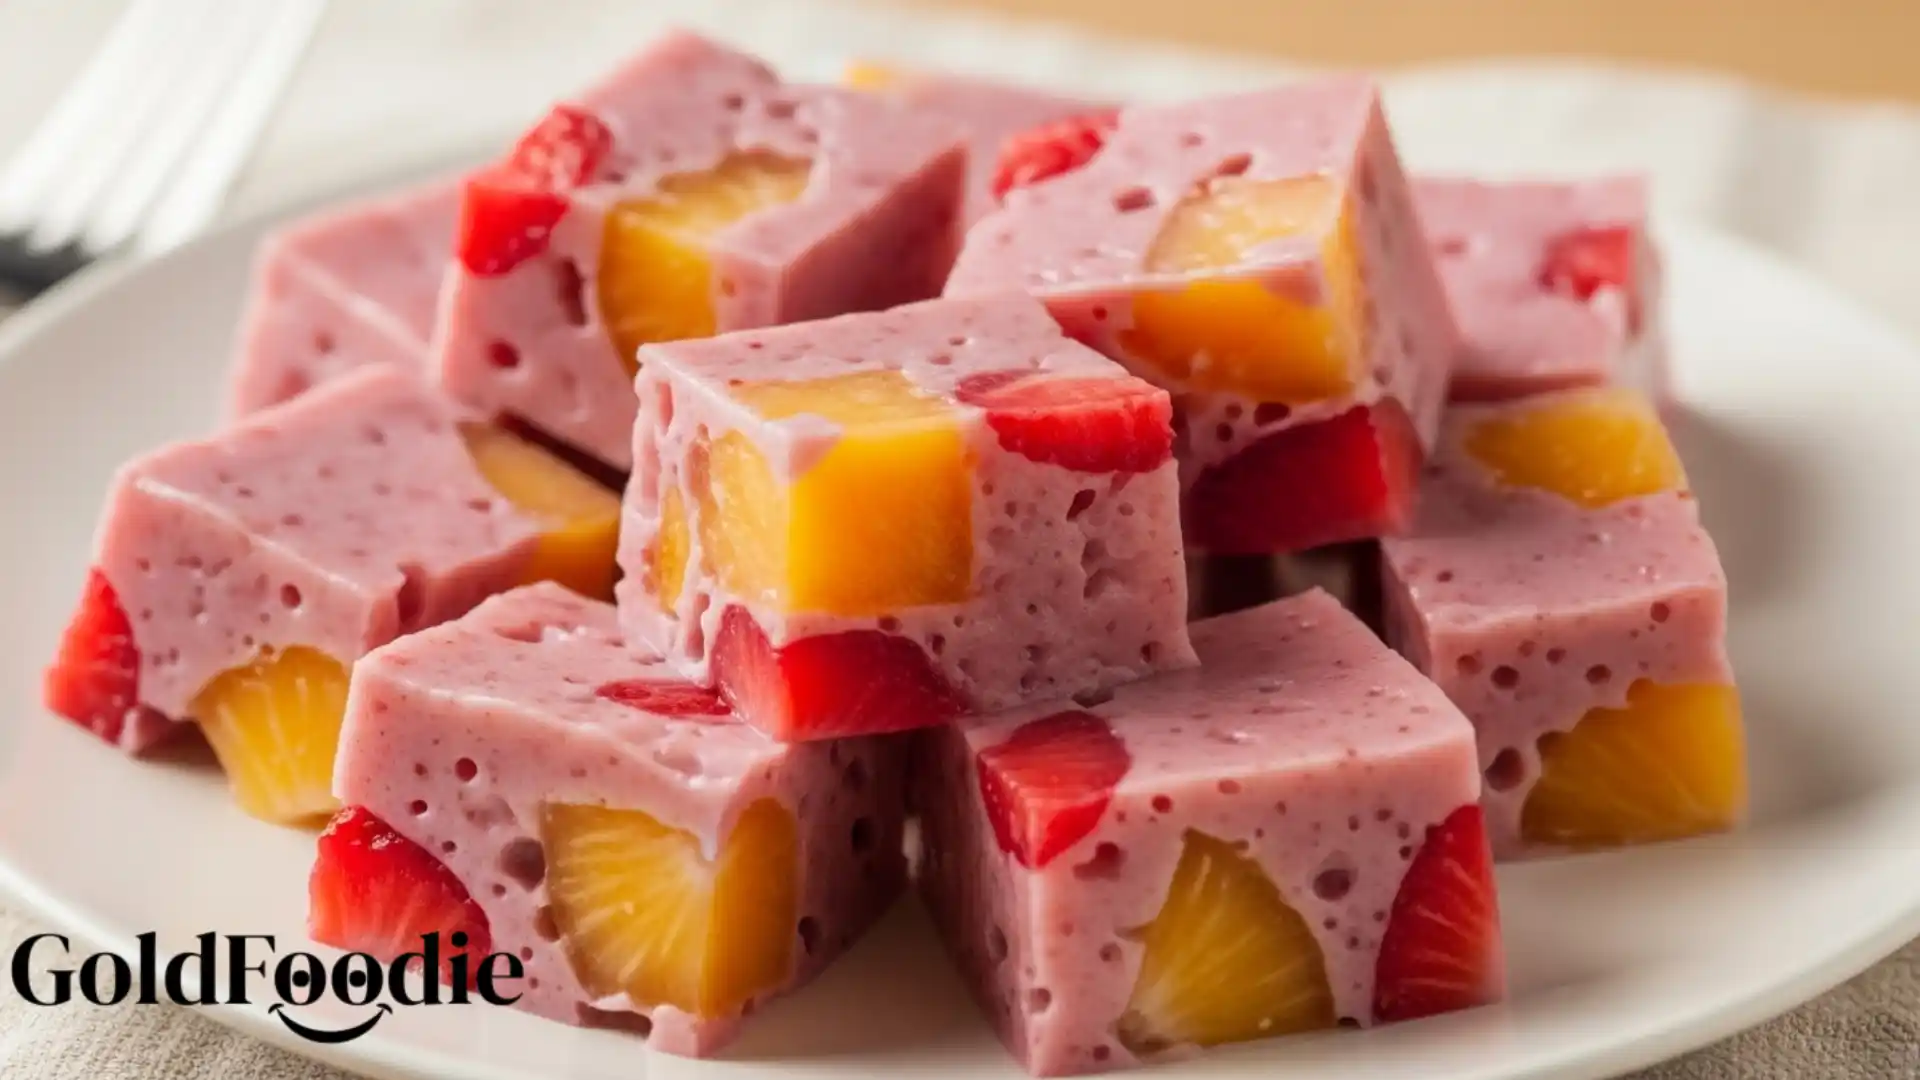
As a busy parent, finding delicious yet healthy snacks that support your wellness goals can feel like a constant challenge. This vibrant, refreshing berry gelatin is more than just a treat; it’s a wonderfully simple and satisfying way to incorporate beneficial nutrients into your day. With its light, wobbly texture and bright, natural sweetness, this Gelatin Diet Recipe offers a guilt-free indulgence.
It’s incredibly easy to prepare, making it a perfect addition to any diabetes-friendly meal plan or healthy eating regimen. This recipe simplifies your journey towards better health, ensuring you enjoy every bite without compromise.
Table of Contents
Why You’ll Love This Gelatin Diet Recipe
- Effortlessly Delicious: Enjoy a naturally sweet, low-calorie treat that satisfies cravings without added sugars.
- Gut-Friendly Goodness: Gelatin supports digestive health and may aid in nutrient absorption, making this more than just a dessert.
- Blood Sugar Balanced: Formulated to be diabetes-friendly, this Gelatin Diet Recipe won’t spike your glucose levels.
- Quick & Simple: Minimal prep time means you can whip up this healthy snack even on your busiest days.

Ingredients You’ll Need
Crafting a truly beneficial and delicious Gelatin Diet Recipe begins with high-quality ingredients. Choosing the right components ensures both fantastic flavor and optimal nutritional benefits. Here’s what you’ll gather for this simple yet powerful treat:
- Unflavored Gelatin Powder: Look for grass-fed or bovine-sourced gelatin for superior quality and amino acid profile. This is the star of our Gelatin Diet Recipe, providing the structure and health benefits.
- Fresh or Frozen Mixed Berries: Strawberries, raspberries, blueberries, and blackberries are excellent choices. They are low in sugar, high in antioxidants, and vibrant in flavor. If using frozen, there’s no need to thaw them beforehand.
- Water: Filtered water is always preferred for the purest taste.
- Erythritol or Stevia (to taste): These natural, zero-calorie sweeteners are ideal for keeping this Gelatin Diet Recipe diabetes-friendly. Adjust the amount based on your personal preference and the sweetness of your berries.
- Lemon Juice (optional): A squeeze of fresh lemon juice brightens the flavors and adds a zesty tang, enhancing the overall profile of your delicious gelatin creation.

Substitutions & Variations
This versatile Gelatin Diet Recipe adapts beautifully to your preferences and what you have on hand. Feel free to experiment while keeping health at the forefront.
- Fruit Alternatives: Instead of berries, try diced peaches (in moderation), kiwi, or a blend of other low-glycemic fruits. Ensure fruits are not pineapple, papaya, or kiwi if using fresh, as their enzymes can prevent gelatin from setting.
- Flavor Boosters: Add a splash of pure vanilla extract, a hint of almond extract, or a pinch of ground cinnamon for extra depth. You can also infuse the water with mint leaves or ginger slices before adding gelatin.
- Sweetener Swaps: If you prefer, monk fruit sweetener is another excellent zero-calorie alternative that works perfectly in this Gelatin Diet Recipe.
- Protein Power-Up: For an even more filling snack, consider stirring in a scoop of unflavored collagen peptides once the liquid has cooled slightly but before it sets. This adds an extra boost to your nutrient-packed gelatin dish.
Note: This video is for demonstration purposes and may use a slightly different methode.
This versatile Gelatin Diet Recipe adapts beautifully to your preferences and what you have on hand. For more tips and variations on this diet, check out the Gelatin Diet Recipe for Weight Loss.
Equipment You’ll Need
Gathering the right tools beforehand makes the process of creating this Gelatin Diet Recipe smooth and stress-free. You likely have most of these items already:
- Medium Saucepan: For heating the water and dissolving the gelatin and sweetener.
- Whisk: Essential for thoroughly combining ingredients and preventing lumps.
- Measuring Cups and Spoons: For accurate ingredient proportions.
- Heatproof Mixing Bowl: If you prefer to bloom your gelatin separately.
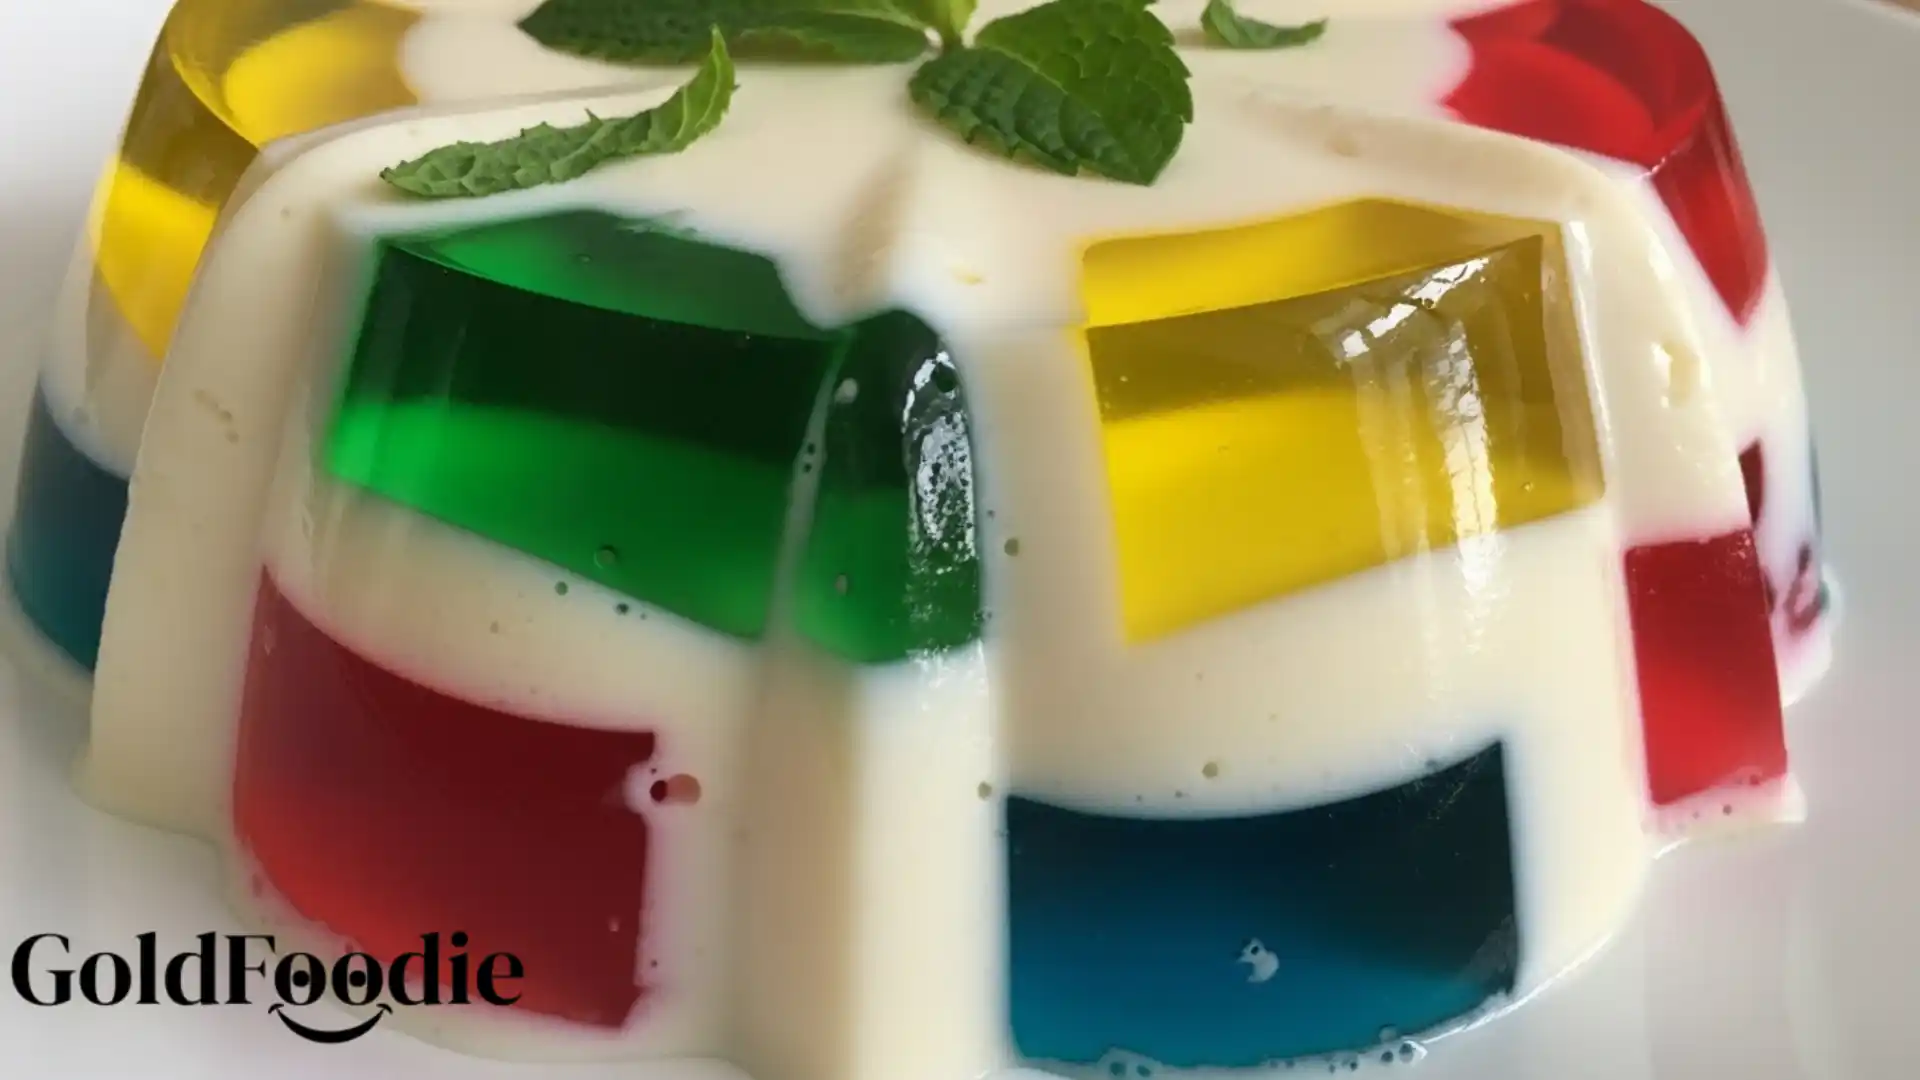
- 8×8 inch Square Dish or Individual Molds: To set your gelatin. Silicone molds or small ramekins work beautifully for individual servings.
- Fine-Mesh Sieve (optional): To strain out fruit seeds if you desire a perfectly smooth gelatin.
Step-by-Step Instructions
Creating this healthy Gelatin Diet Recipe is remarkably straightforward. Follow these clear steps to achieve a perfectly set and delicious treat every time. Remember, precision in steps ensures the best texture for your simple Gelatin Diet Recipe.

- Bloom the Gelatin: In a small bowl, sprinkle the unflavored gelatin powder evenly over 1/2 cup of cold water. Let it sit for 5-10 minutes, allowing the granules to absorb the water and “bloom” or soften. This crucial step prevents lumps and ensures a smooth consistency for your Gelatin Diet Recipe.
- Heat the Liquid: While the gelatin blooms, bring 1.5 cups of water to a gentle simmer in a medium saucepan. Do not let it come to a rolling boil; just hot enough to dissolve the sweetener and gelatin.
- Dissolve Sweetener: Remove the saucepan from the heat. Stir in your chosen sweetener (erythritol or stevia) until completely dissolved. Taste and adjust sweetness as needed.
- Add Bloomed Gelatin: Add the bloomed gelatin mixture to the hot liquid in the saucepan. Whisk continuously until the gelatin is entirely dissolved and no granules remain. This usually takes 1-2 minutes. Ensure the mixture is fully clear.
- Incorporate Fruit: Gently fold in your fresh or frozen mixed berries into the gelatin mixture. If using lemon juice, stir it in now. The berries will slightly cool the mixture, which is perfectly fine for your Gelatin Diet Recipe.
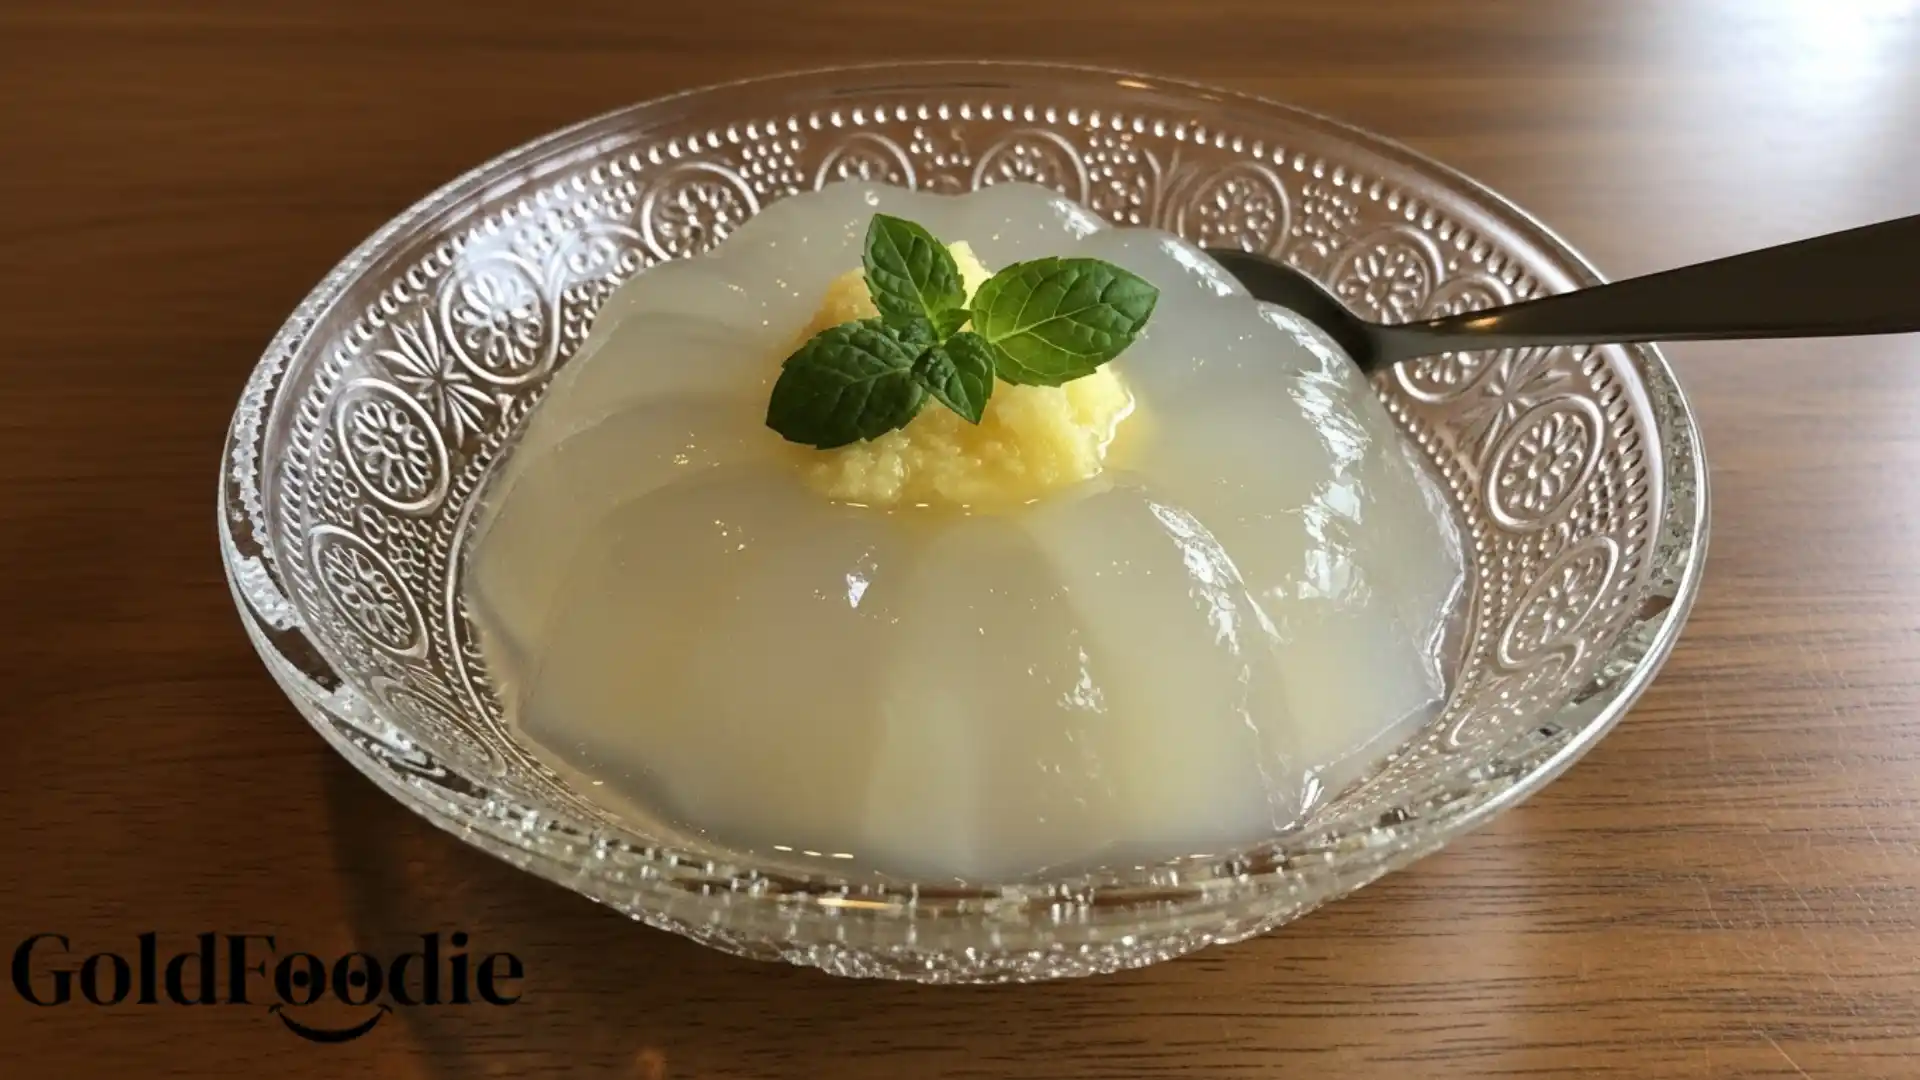
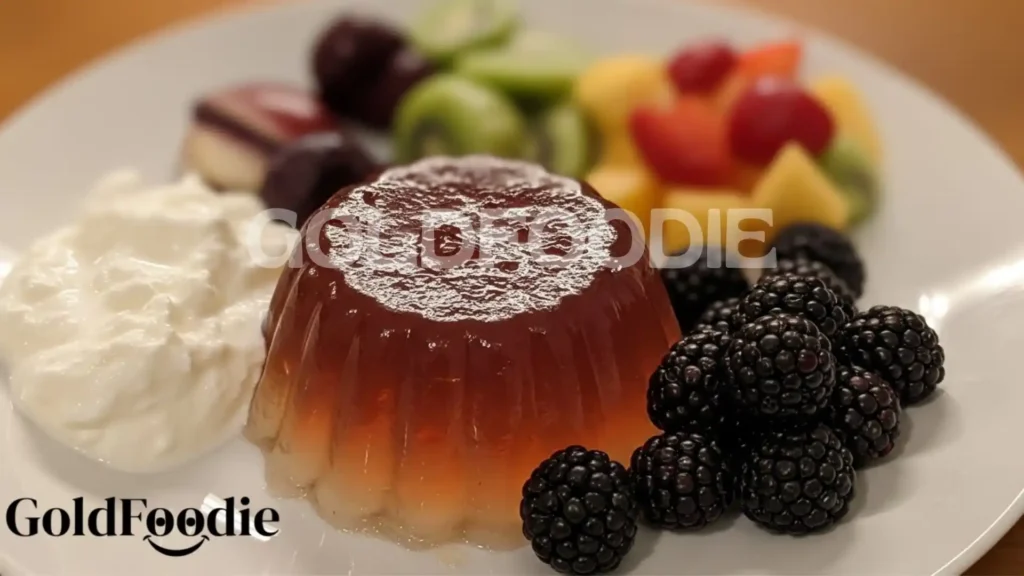
- Pour and Chill: Carefully pour the mixture into your chosen 8×8-inch dish or individual molds. Transfer to the refrigerator and chill for at least 4-6 hours, or until completely set and firm. For best results, chill overnight.
- Serve: Once firm, cut the gelatin into squares or unmold individual servings. Enjoy your refreshing and wholesome Gelatin Diet Recipe!
Creating this healthy Gelatin Diet Recipe is remarkably straightforward. To explore another tasty treat that’s simple to make, see our Chili’s Southwest Eggrolls Recipe.
Pro Tips for Success
Mastering this healthy Gelatin Diet Recipe is easy with a few insider tricks. These tips will help you achieve perfect results every time, ensuring a smooth, delicious, and well-set gelatin.

- Temperature is Key: Always add gelatin to hot, but not boiling, liquid. Boiling can degrade the gelatin’s setting power. Similarly, ensure your cold water for blooming is truly cold.
- Whisk Thoroughly: Don’t rush the whisking process when dissolving the gelatin. Lumps lead to an uneven texture. Keep whisking until the liquid is perfectly clear.
- Fruit Considerations: If using fresh pineapple, kiwi, or papaya, cook them briefly first to deactivate the enzymes that prevent gelatin from setting. Alternatively, use canned versions of these fruits.
- Achieving Clarity: For crystal-clear gelatin, after adding bloomed gelatin, strain the mixture through a fine-mesh sieve before adding fruit and pouring into molds.
- Unmolding Ease: If using molds, lightly spray them with a neutral cooking spray or wipe with a tiny bit of oil before pouring. For easier unmolding of individual servings, briefly dip the bottom of the mold in warm water before inverting onto a plate.
- Adjusting Sweetness: Taste the sweetened liquid before adding the gelatin. This allows you to adjust the sweetness to your liking without risking an unset Gelatin Diet Recipe.
Storage & Reheating Tips
One of the beauties of this Gelatin Diet Recipe is its excellent shelf life in the refrigerator, making it perfect for meal prepping healthy snacks throughout the week. Proper storage ensures your healthy gelatin treat remains fresh and delicious.

- Storage: Once set, store your gelatin in an airtight container in the refrigerator. This prevents it from absorbing odors from other foods and keeps it fresh.
- Shelf Life: This berry gelatin will stay fresh and delicious for up to 5-7 days when properly stored.
- Reheating: Gelatin is typically served chilled and does not require reheating. In fact, reheating will cause it to melt and lose its set consistency. If you want a warmer version, you’re essentially making a beverage, not a set gelatin. Enjoy it straight from the fridge for maximum refreshment.
One of the beauties of this Gelatin Diet Recipe is its excellent shelf life in the refrigerator, making it perfect for meal prepping healthy snacks throughout the week. For more information on how to efficiently use gelatin in your diet, read about The Gelatin Trick Diet.
What to Serve With This Recipe
This versatile Gelatin Diet Recipe shines on its own as a light dessert or a refreshing snack, but it also pairs wonderfully with other healthy options to create a more complete meal or satisfying treat.
- Greek Yogurt: A dollop of plain, unsweetened Greek yogurt adds a creamy tang and an extra boost of protein, making your Gelatin Diet Recipe even more satisfying.
- Fresh Fruit Salad: Complement the flavors by serving alongside a small bowl of additional fresh berries or other low-glycemic fruits like melon.
- A Sprinkle of Nuts or Seeds: For added crunch and healthy fats, a small sprinkle of chopped almonds, walnuts, or chia seeds can be a delightful addition.
- Mint Leaves: Garnish with fresh mint leaves for a burst of aromatic freshness and an elegant touch.
- Light Whipped Cream: If you’re feeling indulgent, a small serving of sugar-free whipped cream (made with erythritol or stevia) can elevate this simple Gelatin Diet Recipe into a fancy dessert.
- Smoothie Bowl: Serve your Gelatin Diet Recipe cubes on top of a low-carb smoothie bowl for a textural contrast and enhanced flavor.
Frequently Asked Questions (FAQ)
Can a gelatin-based diet truly help with weight loss?
While gelatin itself is not a magic weight loss solution, incorporating a low-calorie, sugar-free Gelatin Diet Recipe like this one can certainly support your weight management goals. Gelatin is protein-rich, which can help promote satiety and reduce overall calorie intake. It’s a satisfying alternative to high-sugar desserts, helping you stick to a balanced diet.
Furthermore, gelatin contains amino acids that support gut health, which is increasingly linked to healthy metabolism and weight management. Used as part of a balanced diet and active lifestyle, this healthy gelatin treat is a beneficial choice.
Is this Gelatin Diet Recipe suitable for diabetics?
Absolutely! This specific Gelatin Diet Recipe is designed with diabetes management in mind. By using unflavored gelatin and zero-calorie sweeteners like erythritol or stevia, and focusing on low-glycemic berries, we minimize any impact on blood sugar levels.
Always double-check ingredient labels for hidden sugars, especially if using pre-mixed gelatin products. This nutrient-packed gelatin dish provides a sweet option without the typical sugar overload, fitting perfectly into a carbohydrate-controlled eating plan. As with any new food, diabetics should monitor their personal response.
How long does it take for the Gelatin Diet Recipe to set properly?
For this Gelatin Diet Recipe to achieve its ideal firm and wobbly texture, it typically needs at least 4-6 hours of chilling time in the refrigerator. However, for the best results and a perfectly firm set, I highly recommend chilling it overnight. The longer it chills, the firmer and more stable your delicious gelatin creation will become.
Avoid putting it in the freezer to speed up the process, as this can lead to an undesirable icy texture. Patience is key for a beautifully set Gelatin Diet Recipe.
The Gelatin Diet Recipe focuses on utilizing gelatin, which is a protein derived from collagen that supports digestive health and can aid in appetite control. This nutritious approach can provide delicious snacks while maintaining a balanced diet, making it a valuable resource for healthy eating practices, including gelatin.
Final Thoughts
Embracing simple, wholesome choices like this Gelatin Diet Recipe truly empowers your health journey. It’s a testament to how easily you can nourish your body without sacrificing flavor. This creation is more than just a treat; it’s a celebration of wellness made accessible for busy parents everywhere.
Nutrition Information (per serving)
Based on approximately 8 servings, using erythritol and mixed berries:
| Nutrient | Amount |
|---|---|
| Calories | ~20-30 kcal |
| Protein | ~3-4 g |
| Carbohydrates | ~3-5 g |
| (of which Sugars) | ~2-3 g |
| Fiber | ~1-2 g |
| Fat | ~0 g |

Gelatin Diet Recipe
Ingredients
Method
- Bloom the gelatin by sprinkling it over 1/2 cup of cold water and letting it sit for 5-10 minutes.
- In a medium saucepan, bring 1.5 cups of water to a gentle simmer.
- Remove the saucepan from heat and stir in the sweetener until dissolved.
- Add the bloomed gelatin to the hot liquid, whisking continuously until clear.
- Gently fold in the mixed berries and lemon juice, if using.
- Pour the mixture into an 8×8 inch dish or individual molds and refrigerate for 4-6 hours or until set.
Notes

Diabetes Nutrition Specialist | Healthy Diet Advocate | Founder of GoldFoodie.
My passion for nutrition began with a deeply personal journey supporting my father through his battle with diabetes. Watching his daily struggles made me realize how powerful the right food choices can be in improving quality of life. That experience drove me to dedicate my career to helping others live healthier, more balanced lives.
- Rocco Fuhrman

- Rocco Fuhrman
- Rocco Fuhrman
- Rocco Fuhrman