This post contains affiliate links. As an Amazon Associate, I earn from qualifying purchases. This comes at no extra cost to you.
Jello desserts is a layered chilled dessert made with flavored gelatin, unflavored gelatin, sweetened condensed milk, sour cream, vanilla, and a lightly oiled mold, ready after about 4 hours and 25 minutes of prep and chilling. This Layered Gelatin Dessert yields 10 servings and uses alternating firm fruit gel layers with creamy white layers for a clean, sliced finish. I tested a version of this Layered Gelatin Dessert for a small gathering, and the neat layers held better when I kept each pour thin and patient.
The finished Layered Gelatin Dessert has clear color bands, a smooth creamy middle, and a cool, sliceable texture that stays tidy on the plate. It works well when you need a make-ahead dessert that looks polished without requiring complicated equipment or long hands-on time.
As a high-protein nutrition specialist, I like recipes that are practical, reliable, and easy to portion, and this Layered Gelatin Dessert fits that standard while still feeling festive. Anne Newgent
Table of Contents
- Why Jello Desserts work so well for Layered Gelatin Dessert?
- What ingredients do you need for Layered Gelatin Dessert?
- How do you make Layered Gelatin Dessert step by step?
- Frequently Asked Questions About Layered Gelatin Dessert
Why Jello Desserts work so well for Layered Gelatin Dessert?
Jello Desserts work well here because this Layered Gelatin Dessert uses simple chilling, not complicated baking, to create clean layers and a smooth finish. The method gives you a festive, sliceable dessert in about 4 hours and 25 minutes total, which is useful when you need a dessert that can wait in the refrigerator while you handle everything else.
- It gives you clear layers without advanced skills. Each thin layer sets before the next one is added, which helps the colors stay separated. That makes the dessert look neat even if you are not experienced with molded desserts.
- It fits a busy schedule. The prep time is 25 minutes, and the rest is mostly chilling. That means you can start it earlier in the day and serve 10 portions later without last-minute stress.
- It feels lighter on the table. The combination of gelatin and a creamy milk layer creates a chilled texture that is easy to slice. That matters when you want a dessert that serves cleanly after a full meal.
- It is practical for celebrations. The colorful structure makes it a strong choice for bake sale recipes, sweet dishes recipes, and Mexican food recipes tables where presentation matters. I also find it helpful when I want a dessert that travels visually well from mold to plate.
Layered Gelatin Dessert also works because the creamy mixture is stable enough to alternate with the set gelatin, so the finished slices hold their shape. When I made it for a home test, the biggest difference came from letting each layer set for the full 20 to 30 minutes before adding the next one.
What ingredients do you need for Layered Gelatin Dessert?
This Layered Gelatin Dessert uses three flavored gelatins, three packets of unflavored gelatin, sweetened condensed milk, sour cream, vanilla, and water split between boiling and cold. The ingredient list is short, but each component matters because the flavored layers provide color and structure while the creamy layers add smooth contrast and help the dessert slice cleanly.
- 3 boxes flavored gelatin, different colors/flavors, 3 ounces each
- 3 packets unflavored gelatin, 0.25 ounce each
- 6 cups boiling water, divided
- 3 cups cold water, divided
- 1 can sweetened condensed milk, 14 ounces
- 1 cup sour cream
- 1 teaspoon vanilla extract
- Cooking spray or neutral oil for the mold
The sweetened condensed milk and sour cream are the key ingredients that turn this from a plain layered gel into a creamy, stable dessert. The unflavored gelatin is equally important because it gives the white layers enough firmness to support the next colorful layer without blending together.
How do you make Layered Gelatin Dessert step by step?
This Layered Gelatin Dessert is built by alternating thin flavored-gelatin layers with creamy gelatin layers, then chilling each one until it can support the next. The method is straightforward, but the timing matters, because each layer needs enough time to set before you continue, and the final chill should last at least 4 hours.
Step 1 — Prepare the mold
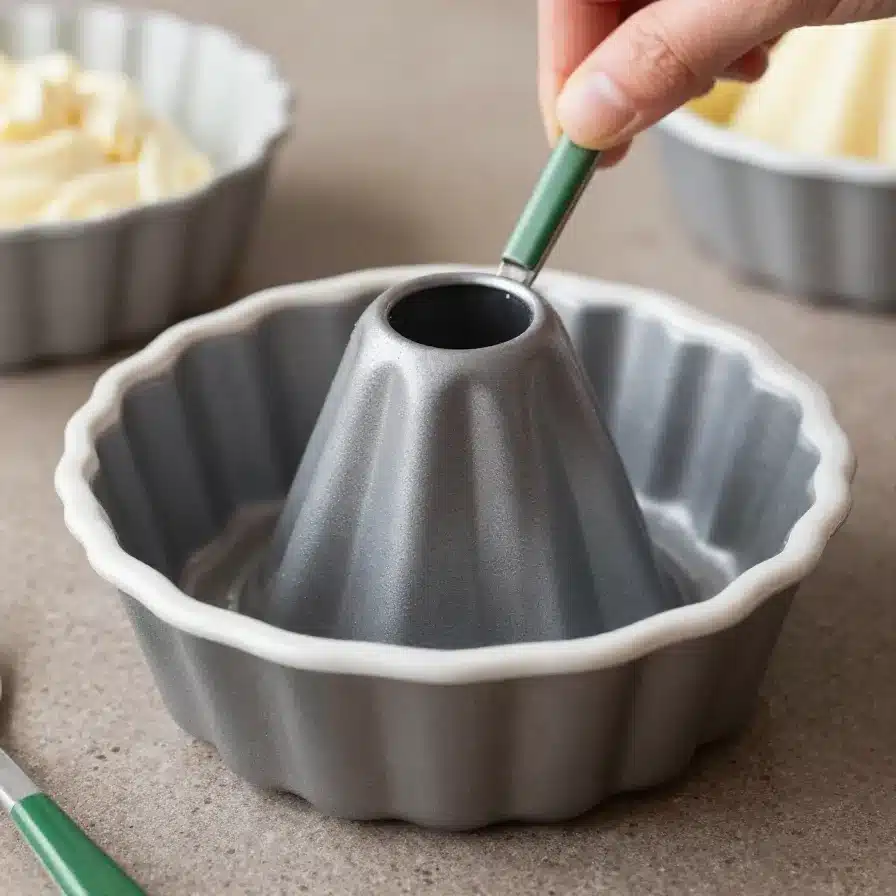
Lightly coat a large glass dish or mold with cooking spray or a thin layer of neutral oil, then set it aside. This small step helps the Layered Gelatin Dessert release cleanly later, especially if you want tidy slices or a neat inverted shape.
Step 2 — Make the first flavored layer
Dissolve 1 box of flavored gelatin in 1 cup boiling water, stirring until it is fully dissolved. Add 1 cup cold water, pour a thin layer into the prepared dish, and refrigerate until just set, about 20 to 30 minutes.
Step 3 — Mix the first creamy layer
Sprinkle 1 packet of unflavored gelatin over 1/2 cup cold water in a bowl and let it bloom for 5 minutes. Stir in 1 cup boiling water until dissolved, then whisk in 1/3 of the sweetened condensed milk, 1/3 of the sour cream, and a little vanilla until smooth.
Step 4 — Add the creamy layer
Carefully spoon or pour a thin layer of the creamy mixture over the set gelatin layer. Refrigerate until it is set enough to support the next layer, about 20 to 30 minutes.

Step 5 — Repeat the layers
Repeat the process with the remaining flavored gelatins and creamy mixture, alternating layers and chilling each one until set before adding the next. Work gently so the layers stay distinct, and keep the pours thin so the Layered Gelatin Dessert keeps its clean striped look.
Step 6 — Chill until firm
After the final layer is added, chill the dessert for at least 4 hours, or until completely firm. This final rest gives the structure enough time to set all the way through, which is especially important for a molded dessert that needs to unmold well.
Step 7 — Unmold and serve
To unmold, briefly dip the bottom or sides of the mold in warm water if needed, then invert onto a serving plate. Slice and serve chilled for the best texture and the cleanest layers.
Frequently Asked Questions About Layered Gelatin Dessert
How long does Layered Gelatin Dessert need to chill?
It needs at least 4 hours after the final layer is added. Each earlier layer also needs about 20 to 30 minutes to set before the next one goes in, which is what keeps the layers separate and stable.
Why do the layers sometimes mix together?
The layers mix when the previous layer is too soft or the next layer is poured too quickly. Let each layer set until it can support the next one, and add the creamy mixture gently with a spoon or slow pour.
Can I unmold the dessert without breaking it?
Yes, if the mold was lightly coated and the dessert is fully firm. Briefly dip the outside of the mold in warm water, then invert it onto a serving plate to help the dessert release cleanly.
What size batch does this recipe make?
This recipe makes 10 servings. That portion count comes from the full batch of three flavored gelatin boxes, three packets of unflavored gelatin, and the full cream mixture.
Do I need a special mold for this Layered Gelatin Dessert?
No, a large glass dish or mold works well. I used a simple dish in testing, and the key was greasing it lightly so the layered dessert could release without sticking.
What tips help the layers stay clean and neat?
Thin layers are the most important tip because they set faster and are less likely to blend. That matters for Layered Gelatin Dessert, where visual separation is part of the appeal and a slightly thicker pour can blur the edges.
Let each layer set fully before starting the next one. I also found that using a spoon to guide the creamy mixture over the back of the spoon reduced splashing and kept the surface smoother.
Keep the mold on a level shelf in the refrigerator. Even a slight tilt can cause the layers to settle unevenly, and that can affect how the dessert slices once it is firm.
Stay patient with the final 4-hour chill. That last rest gives the dessert its structural strength, which is especially helpful if you plan to unmold it for a clean presentation.
How should you store and serve it later?
Store Layered Gelatin Dessert covered in the refrigerator, where it will keep its best texture for several days. The chilled setting is important because this dessert depends on cold storage to hold its shape and stay sliceable.
Freezing is not a good option for this dish because the texture can turn watery after thawing. If you need to make it ahead, chilling it in the mold and unmolding shortly before serving is the most reliable approach.
Serve it cold and slice it with a clean knife for the sharpest layers. If you are making it for a table with other sweet dishes recipes, that cold, tidy finish helps it stand out without needing extra decoration.
What is the background of this layered dessert style?
This style of gelatin dessert is common in celebration desserts because it delivers color, structure, and a creamy layer in a format that slices neatly. Layered Gelatin Dessert fits that tradition by combining molded presentation with simple pantry ingredients.
Its appeal also comes from contrast: clear gelatin layers, creamy filling layers, and a smooth chilled bite. That contrast is part of why this kind of dessert appears often in festive dessert tables, bake sale recipes, and other visually driven gatherings.
What pairs well with Layered Gelatin Dessert?
Serve Layered Gelatin Dessert with other chilled desserts or simple beverages that do not compete with its color and texture. Because the dessert is already sweet and creamy, the best pairings stay light and straightforward.
our gelatina de queso crema con works as a related dessert choice when you want another colorful, chilled option on the table. It shares the same visual appeal and layered presentation style without requiring extra complexity.
A plain cup of coffee pairs well because its slight bitterness balances the sweetened condensed milk. Unsweetened tea also works, since a clean beverage keeps the focus on the Layered Gelatin Dessert itself.
Fresh fruit on the side can add a brighter finish without changing the dessert. I also like serving it after a heavier meal because the cold, smooth texture feels lighter than many baked sweets.
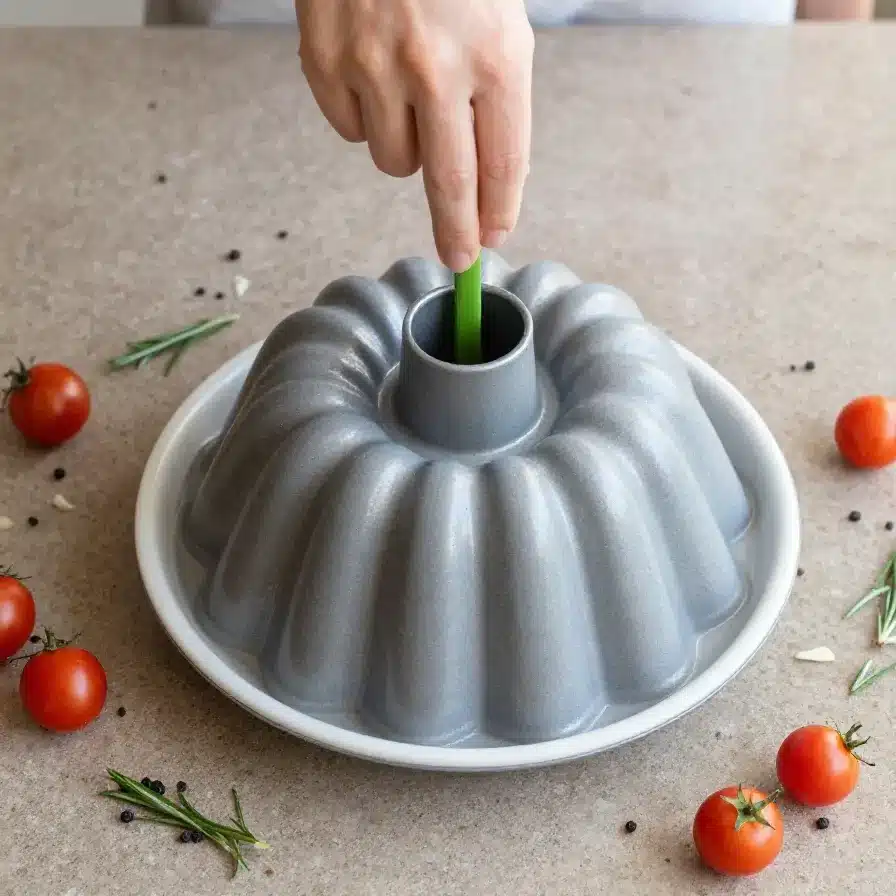
Layered Gelatin Dessert
Ingredients
Equipment
Method
- Lightly coat a large glass dish or mold with cooking spray or a thin layer of neutral oil, then set aside.
- Prepare the first flavored gelatin by dissolving 1 box in 1 cup boiling water, stirring until fully dissolved, then add 1 cup cold water. Pour a thin layer into the prepared dish and refrigerate until just set, about 20 to 30 minutes.
- To make a creamy layer, sprinkle 1 packet of unflavored gelatin over 1/2 cup cold water in a bowl and let it bloom for 5 minutes. Stir in 1 cup boiling water until dissolved, then whisk in 1/3 of the sweetened condensed milk, 1/3 of the sour cream, and a little vanilla until smooth.
- Carefully spoon or pour a thin layer of the creamy mixture over the set gelatin layer. Refrigerate until set enough to support the next layer, about 20 to 30 minutes.
- Repeat the process with the remaining flavored gelatins and creamy mixture, alternating layers and chilling each one until set before adding the next. Work gently so the layers stay distinct.
- After the final layer is added, chill the dessert for at least 4 hours, or until completely firm.
- To unmold, briefly dip the bottom or sides of the mold in warm water if needed, then invert onto a serving plate. Slice and serve chilled.
Notes
Loved this recipe? Save it to your favorite Pinterest board so you can easily find it later! ✨

Hi there, I’m chef living in New York City. Every morning, I wake up to the sounds of my little one’s laughter and the comforting routine of preparing breakfast for my family my husband, our child, and my beloved mother, who’s become both my rock and my inspiration since my father passed away. As the only daughter left in our family, I feel a deep responsibility to carry on his memory whenever I step into the kitchen.
- Dominique

- Dominique
- Dominique
- Dominique