Remember those sun-drenched days, filled with simple joys and vibrant flavors? This delightful Orange Jelly recipe brings that warmth directly to your table. Imagine a shimmering, citrusy dessert, perfectly wobbly and bursting with the sweet tang of fresh oranges.
It’s not just a treat; it’s a moment of pure bliss, offering a refreshing escape with every spoonful. Preparing this Orange Jelly is a cherished ritual, a way to connect with the timeless art of simple, wholesome desserts. Let’s create some magic together, crafting a truly memorable Orange Jelly that everyone will adore.
Table of Contents
Why You’ll Love This Orange Jelly Recipe
Making this Orange Jelly isn’t just about dessert; it’s about creating happy memories and savoring wholesome goodness, just like my grandmother used to say. It’s an act of love.
- Simple Elegance: Achieve a stunning, vibrant dessert with minimal effort, perfect for any family gathering or a quiet afternoon treat.
- Bursting Fresh Flavor: Enjoy the vibrant, natural taste of sun-kissed oranges in every delicate, wobbly spoonful of this homemade Orange Jelly.
- Naturally Refreshing: A light, healthy, and wonderfully hydrating treat, ideal for warm afternoons or a refreshing post-meal palate cleanser.
- Wholesome Goodness: Made with natural ingredients, you can truly feel good about serving this delightful, homemade Orange Jelly to your cherished loved ones.

Ingredients You’ll Need
Gathering quality ingredients is the first step to creating something truly special. Just like choosing the freshest fruit for pies, selecting the best oranges will make all the difference in your Orange Jelly. We want to capture that pure, natural zest and juice to infuse our jelly with unparalleled flavor, making each bite a joyful experience reminiscent of childhood summers.
- Fresh Oranges: 4-5 large, ripe oranges (preferably navel or Valencia), providing about 2 cups of freshly squeezed juice and 2 tablespoons of finely grated zest. Seek out vibrant, firm oranges for the best flavor and aroma for your Orange Jelly.
- Granulated Sugar: 1/2 cup (or to taste). Sugar helps balance the tartness of the oranges and enhances the overall flavor of your Orange Jelly. You can adjust this slightly based on the sweetness of your oranges and personal preference.
- Unflavored Gelatin Powder: 3 tablespoons. This is our magical ingredient that gives the Orange Jelly its signature wobbly texture. Ensure it’s unflavored to let the orange shine.
- Cold Water: 1/2 cup, for blooming the gelatin. Blooming is crucial for a smooth, lump-free Orange Jelly.
- Boiling Water: 1 1/2 cups. This hot water dissolves the bloomed gelatin thoroughly.
- Lemon Juice: 1 tablespoon (freshly squeezed). A small squeeze of lemon brightens the orange flavor, adding a lovely zing and preventing the Orange Jelly from tasting too flat.
- Optional: Orange Blossom Water or Vanilla Extract: 1/2 teaspoon, for an extra layer of aromatic complexity and warmth. This can elevate your Orange Jelly to something truly extraordinary.

Substitutions & Variations
Part of the joy of cooking is making a recipe truly your own, adapting it to your family’s tastes or what you have on hand. Don’t be afraid to experiment, especially when it comes to healthy swaps that still deliver incredible flavor for your Orange Jelly. These thoughtful changes can make a classic recipe even more inclusive and delightful for everyone around your table. Remember, the heart of cooking is caring.
- Sugar Alternatives: For a healthier option, substitute granulated sugar with honey, maple syrup, or a natural sugar-free sweetener like stevia or erythritol. Start with smaller amounts and taste as you go, as their sweetness levels differ. This ensures your Orange Jelly is sweet, but also mindful of dietary needs.
- Citrus Blend: Instead of all oranges, try a mix of orange and grapefruit juice for a tangier Orange Jelly, or orange and tangerine for a sweeter, milder flavor. You can even add a splash of lime juice for an extra bright note.
- Agar-Agar for Vegan Option: To make this Orange Jelly vegan, swap gelatin powder for agar-agar flakes or powder. Use 1 tablespoon of agar-agar flakes or 1 teaspoon of agar-agar powder per 1 cup of liquid. Remember that agar-agar sets more firmly than gelatin, so adjust quantities until you find your desired consistency for the Orange Jelly.
- Spice Infusion: Gently warm the orange juice with a cinnamon stick, a few cloves, or a star anise for a delicate, aromatic Orange Jelly. Strain before adding the gelatin for a clear finish.
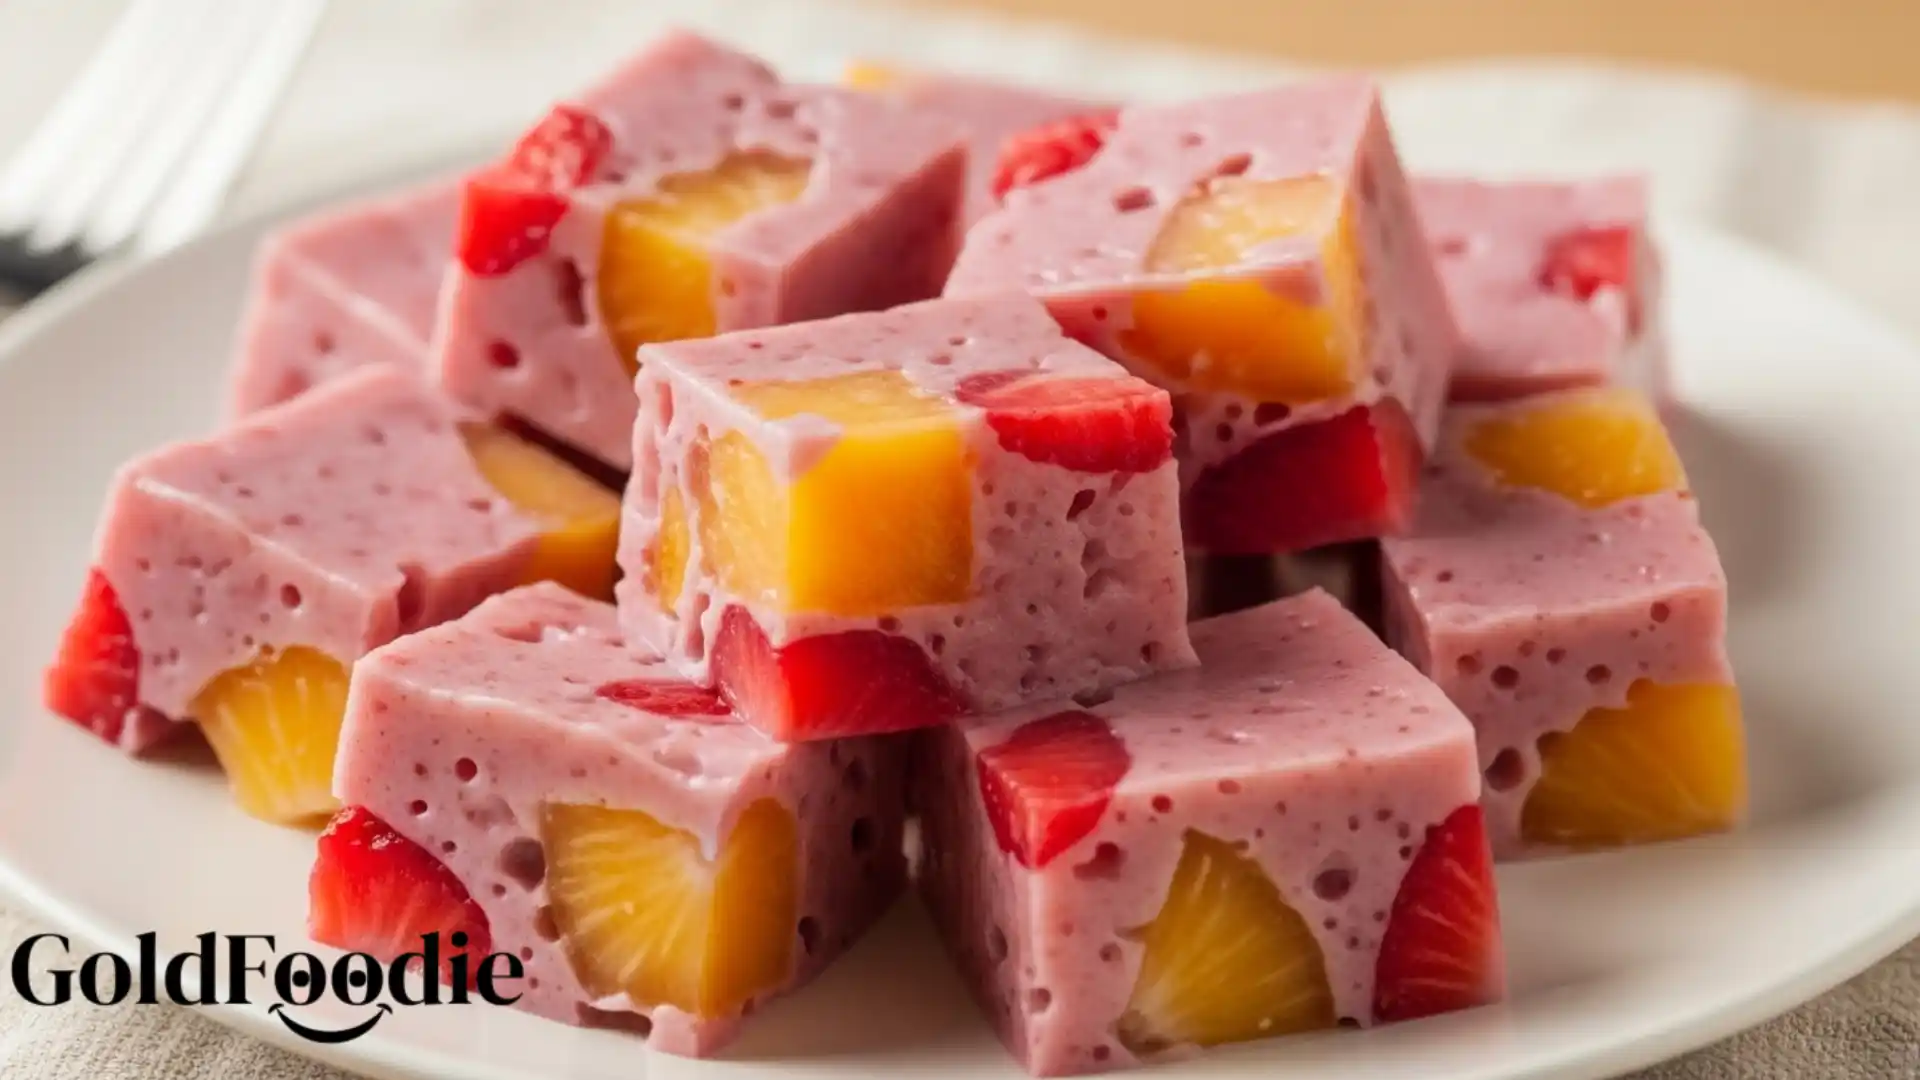
- Fruit Pieces: Gently fold in small, diced orange segments (make sure they are well-drained) into the Orange Jelly mixture just before it sets, adding texture and extra fruitiness.
Note: This video is for demonstration purposes and may use a slightly different methode.
Part of the joy of cooking is making a recipe truly your own while embracing healthy swaps. For a refreshing twist, consider trying out a delicious Refreshing Green Tea Jelly that pairs beautifully with the flavors of Orange Jelly.
Equipment You’ll Need
Having the right tools makes any cooking endeavor a pleasure, turning preparation into a smooth and enjoyable process. For our Orange Jelly, a few basic kitchen items will ensure success and a beautifully set dessert.
- Saucepan: For heating the liquids.
- Whisk: For blending ingredients smoothly.
- Fine-Mesh Sieve: For straining the orange juice and zest.
- Citrus Juicer/Reamer: To extract fresh orange juice.
- Grater/Zester: For obtaining orange zest.
- Measuring Cups and Spoons: For accurate ingredient quantities.
- 8×8 inch Square Pan or Individual Molds: To set the Orange Jelly. A glass dish or silicone molds work wonderfully.
- Small Bowl: For blooming the gelatin.
Step-by-Step Instructions
Creating this beautiful Orange Jelly is a simple process, a culinary dance of warmth and patience. Follow these steps carefully, and you’ll soon have a shimmering, flavorful dessert ready to delight your family. Each stage builds on the last, bringing us closer to that perfect, wobbly treat.

- Prepare Your Oranges: First, gently wash your oranges. Using a fine grater, carefully zest 2 tablespoons of orange zest, avoiding the bitter white pith. Then, slice the oranges in half and use a citrus juicer to extract about 2 cups of fresh orange juice. Strain the juice through a fine-mesh sieve into a clean bowl to remove any pulp or seeds, ensuring a smooth Orange Jelly.
- Bloom the Gelatin: In a small, heatproof bowl, sprinkle the 3 tablespoons of unflavored gelatin powder evenly over 1/2 cup of cold water. Let it sit for 5-10 minutes, allowing the gelatin to absorb the water and swell. This crucial step, known as blooming, prevents lumps in your final Orange Jelly.
- Heat the Liquids: In a medium saucepan, combine the strained orange juice, 1 1/2 cups of boiling water, granulated sugar, and lemon juice. Heat this mixture over medium heat, stirring gently until the sugar completely dissolves. Do not boil; we just want it warm enough to dissolve the sugar and then the gelatin.
- Dissolve the Gelatin: Remove the saucepan from the heat. Add the bloomed gelatin mixture to the warm orange liquid. Whisk continuously until the gelatin is entirely dissolved and no granules remain. This is where your Orange Jelly truly begins to take shape. Add any optional orange blossom water or vanilla extract at this stage, stirring well to combine.
- Add the Zest: Stir in the finely grated orange zest. The zest adds a wonderful burst of aromatic oils and a deeper orange flavor to your Orange Jelly.
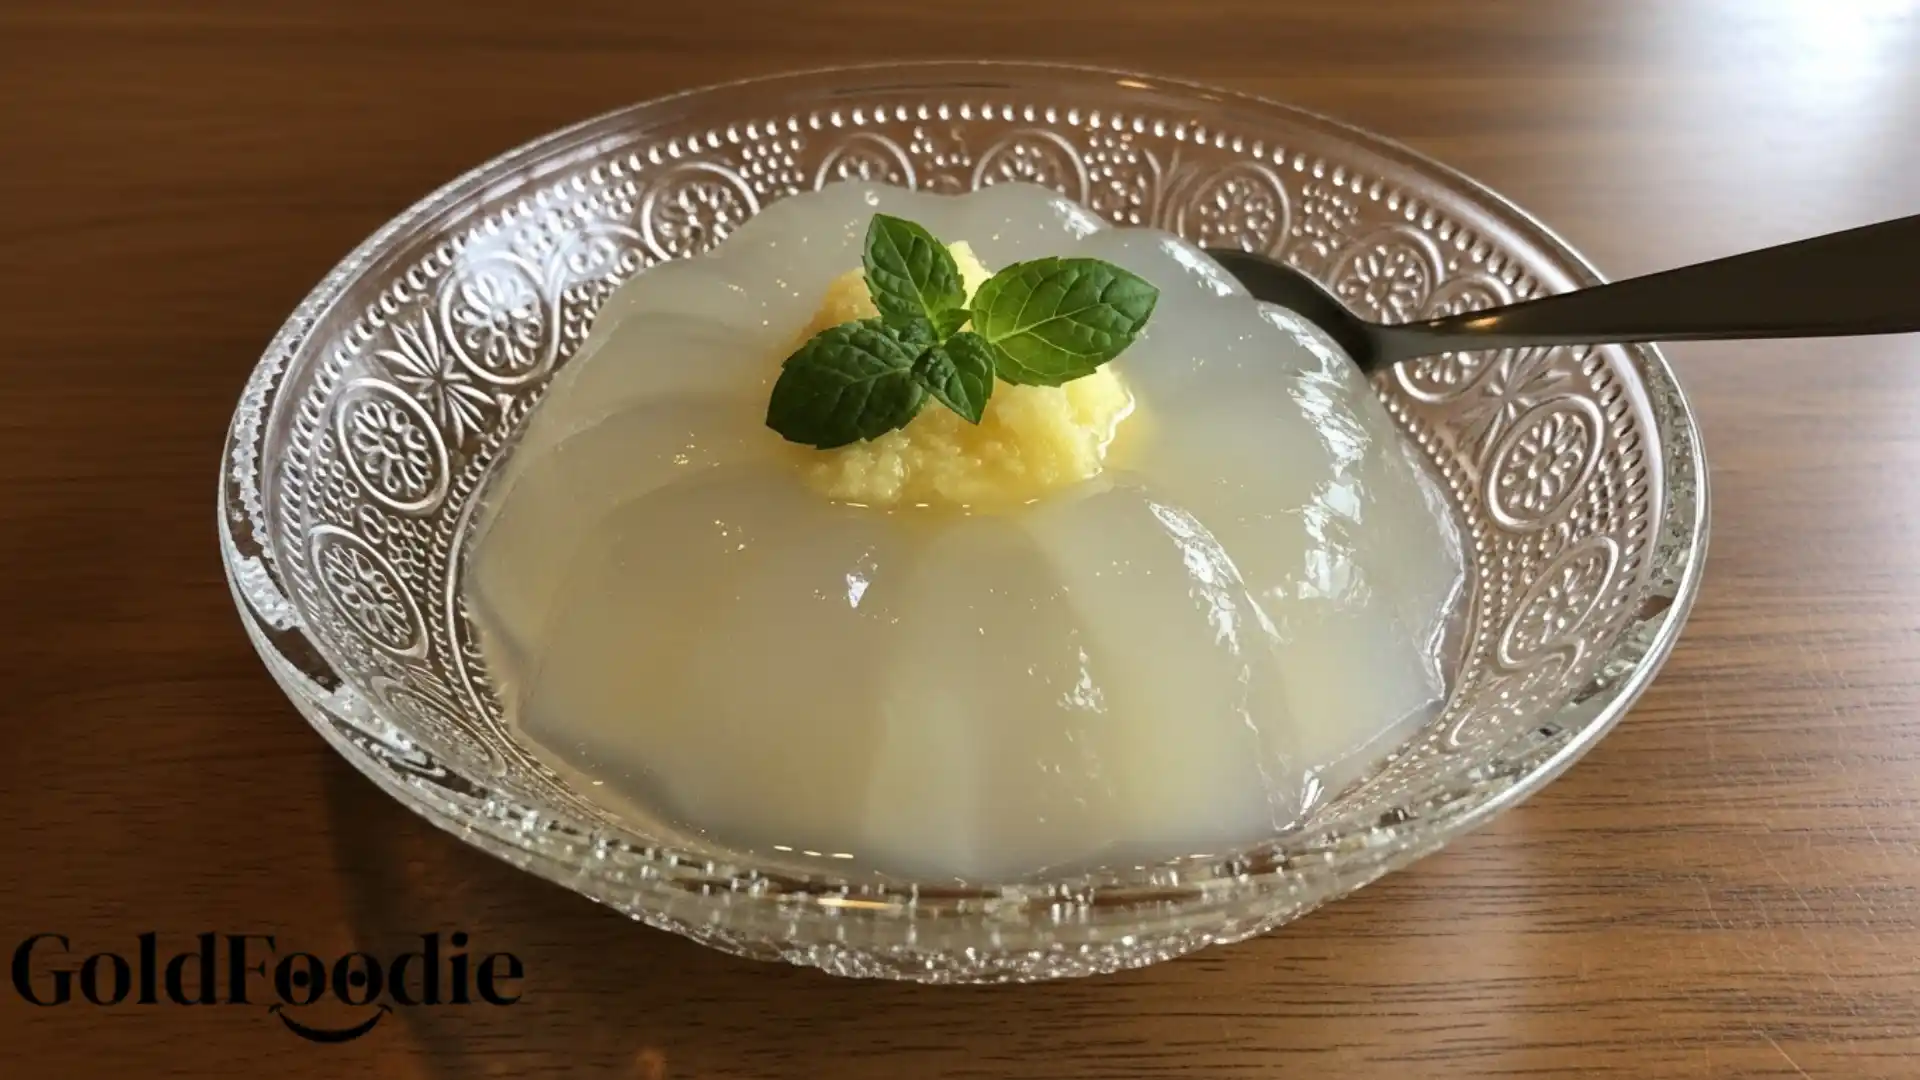
- Pour and Chill: Carefully pour the Orange Jelly mixture into your chosen 8×8 inch square pan or individual molds. If using a pan, ensure it’s clean and perhaps lightly greased with a neutral oil if you plan to unmold the jelly. Place the pan or molds into the refrigerator.
- Set and Serve: Allow the Orange Jelly to chill for at least 4-6 hours, or preferably overnight, until it is completely set and firm. Once firm, you can slice the Orange Jelly into squares, or if using molds, gently unmold them. Serve chilled and enjoy the refreshing taste of your homemade Orange Jelly!
Creating this beautiful Orange Jelly is a simple process, but if you’re looking for another stunning dessert, don’t miss our Delicious & Easy Recipe for Green Milk Tea Jelly that will add a unique flavor to your next meal.
Pro Tips for Success
Crafting the perfect Orange Jelly is a blend of simple science and a little bit of love. These technical tips, passed down through generations, will help you achieve a jelly that is not only beautiful but also boasts impeccable texture and flavor, making your Orange Jelly truly outstanding.

- Precision in Zesting: When zesting your oranges, use a microplane and be careful to grate only the bright orange part of the peel. The white pith underneath is bitter and can impart an unpleasant taste to your delicate Orange Jelly.
- Blooming Gelatin is Key: Never skip the blooming step. Sprinkling gelatin over cold water allows it to hydrate evenly. If you add gelatin directly to hot liquid, it can clump, resulting in an unevenly set or grainy Orange Jelly.
- Avoid Overheating Gelatin: While gelatin needs warmth to dissolve, excessive boiling can weaken its gelling properties. Ensure your liquid is warm enough to dissolve the gelatin but do not let it come to a rolling boil after the gelatin is added. This preserves the integrity of your Orange Jelly’s texture.
- Strain for Clarity: For a perfectly clear and sparkling Orange Jelly, strain the final mixture (after adding gelatin and zest) through a fine-mesh sieve once more before pouring into molds. This removes any tiny zest particles or undissolved bits, leaving you with a visually stunning Orange Jelly.
- Chill Completely: Patience is a virtue when setting jelly. Rushing the chilling process can result in a soft, wobbly Orange Jelly that doesn’t hold its shape well. Allow ample time in the refrigerator for a firm, perfectly set dessert.
- Unmolding Individual Jellies: If using individual molds, a quick dip of the mold in warm water for a few seconds can help release the Orange Jelly easily. Run a thin knife around the edge first.
- Adjust Sweetness Mindfully: Taste your orange juice mixture before adding the gelatin. Oranges vary in sweetness, so adjust the sugar to your preference at this stage. Once gelatin is added, it’s harder to modify the flavor of the Orange Jelly without affecting the set.
Storage & Reheating Tips
Once you’ve made your beautiful Orange Jelly, you’ll want to keep it fresh and delicious to enjoy over several days. Proper storage ensures that each bite remains as delightful as the first, preserving that vibrant citrus flavor.

Store your Orange Jelly in an airtight container in the refrigerator. This protects it from absorbing odors and keeps it fresh. Properly stored, homemade Orange Jelly will last beautifully for up to 5-7 days. It’s important to keep it chilled; gelatin-based desserts do not fare well at room temperature for extended periods.
Reheating is not recommended for Orange Jelly. The heat will cause the gelatin to melt, and it will not regain its original set consistency once cooled again. Orange Jelly is meant to be served and enjoyed cold, directly from the refrigerator.
If you have made a large batch of Orange Jelly, consider dividing it into smaller individual portions before chilling. This makes serving easier and helps maintain freshness by only exposing smaller amounts to air when serving.
Once you’ve made your delightful Orange Jelly, it’s essential to store it properly. For inspiration on keeping your treats fresh, check out our guide on Delicious Slimming World Jelly Sweets which offers tips on preserving the taste.
What to Serve With This Recipe
Orange Jelly, with its bright, refreshing flavor, can be a delightful addition to many meals or a standalone treat. It’s wonderfully versatile and pairs beautifully with both light and rich dishes.
Thinking about balance and complementary textures will elevate your dining experience, just as my family always considered the whole meal.
- Fresh Berries: A sprinkle of fresh blueberries, raspberries, or sliced strawberries adds a lovely contrast in color and a burst of natural sweetness to your Orange Jelly.
- Light Whipped Cream or Greek Yogurt: A dollop of unsweetened whipped cream or a spoonful of plain Greek yogurt provides a creamy counterpoint to the tartness of the Orange Jelly.
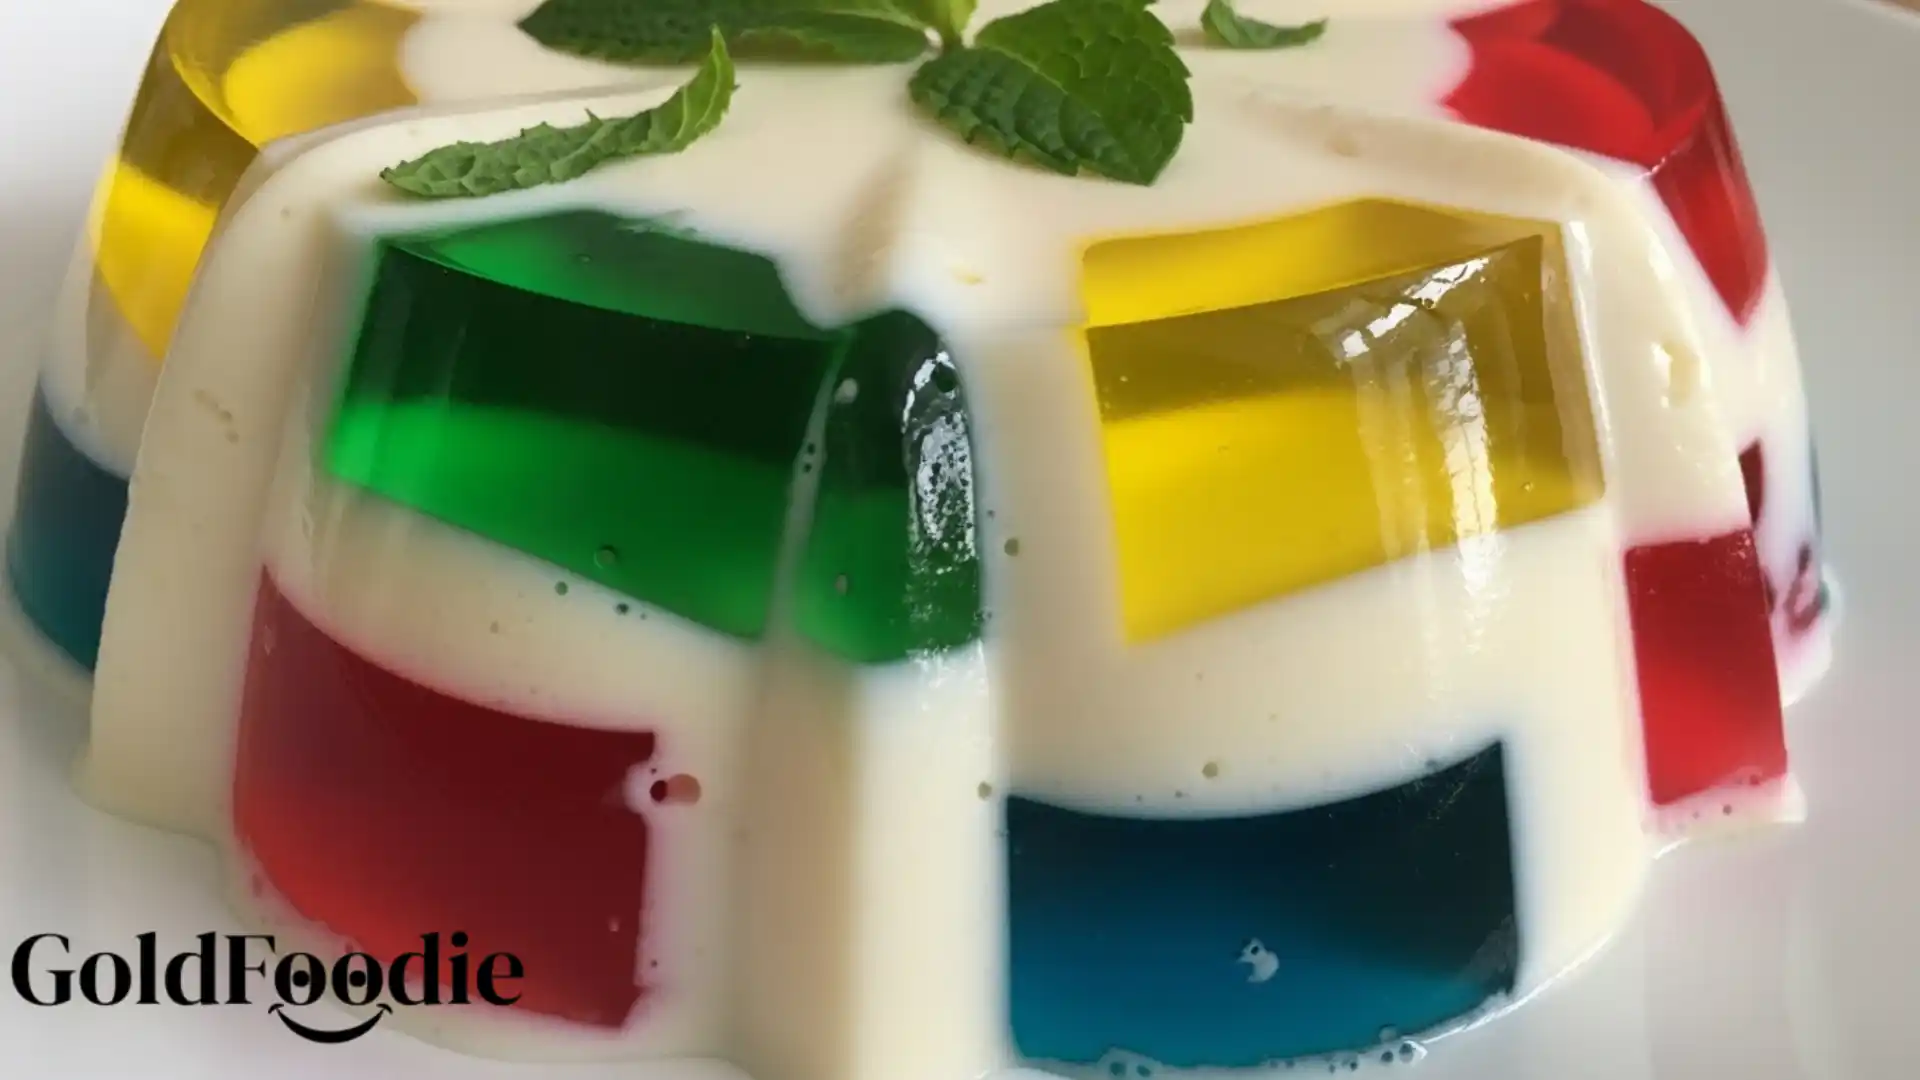
- Mint Leaves: A few fresh mint leaves as a garnish enhance the refreshing quality of the Orange Jelly and add a touch of elegance.
- Shortbread Cookies: A delicate shortbread cookie offers a buttery crunch that perfectly complements the soft texture of the Orange Jelly.
- Fruit Salad: Serve a square of Orange Jelly alongside a fresh fruit salad for a truly vibrant and healthy dessert experience.
- Afternoon Tea: This Orange Jelly makes a sophisticated addition to an afternoon tea spread, perhaps alongside mini sandwiches and other light pastries.
- Breakfast or Brunch: A small serving of Orange Jelly can be a refreshing and light start to a leisurely breakfast or brunch.
Frequently Asked Questions (FAQ)
Can I use store-bought orange juice for this Orange Jelly?
While you certainly can use good quality store-bought orange juice for convenience, I highly recommend using freshly squeezed juice for the best flavor in your Orange Jelly. Fresh juice provides a brighter, more vibrant citrus taste and aroma that truly elevates the final dessert.
If using store-bought, opt for 100% pure orange juice without added sugars or concentrates to keep the flavor profile as natural as possible. Remember, the quality of your main ingredient directly impacts the deliciousness of your homemade Orange Jelly.
Why is my Orange Jelly not setting properly?
There are a few common reasons why your Orange Jelly might not be setting correctly. First, ensure your gelatin was bloomed properly in cold water before being dissolved in the warm liquid. If the water was too hot, or if the gelatin was added directly to boiling liquid, its gelling power can be compromised.
Second, confirm you used the correct ratio of gelatin to liquid – too little gelatin will result in a soft set. Lastly, ensure you allowed ample chilling time, typically 4-6 hours or overnight, in a consistently cold refrigerator. Patience is crucial for a perfectly firm Orange Jelly.
Can I make Orange Jelly ahead of time for a party?
Absolutely, making Orange Jelly ahead of time is one of its wonderful advantages! It needs a minimum of 4-6 hours to set, so preparing it the day before an event is ideal. This allows it plenty of time to firm up beautifully and develop its full flavor.
Stored in an airtight container in the refrigerator, your Orange Jelly will remain fresh and delicious for up to 5-7 days. This makes it a perfect make-ahead dessert, freeing you up to enjoy your guests and the occasion without last-minute fuss.
Orange Jelly is not only a nostalgic treat but also showcases the versatility of jelly-like desserts. This citrus delight can invigorate taste buds and is a favorite in many households, especially during warm seasons, as seen in its cultural significance across different culinary traditions. Learn more about its variations in jelly-making techniques.
Final Thoughts
In a world rushing by, moments of simple pleasure, like savoring a homemade Orange Jelly, become precious treasures. This recipe carries more than just flavor; it holds the warmth of shared laughter, the comfort of tradition, and the joy of creating something beautiful with your own hands. It’s a sweet echo of home, a testament to love, and a delicious reminder to slow down and enjoy life’s simple, sweet delights. Pass on this lovely Orange Jelly legacy.
Nutrition Information (per serving)
Please note that this is an approximate nutritional breakdown and can vary based on specific ingredient brands and quantities used, especially with sugar adjustments. This provides a general overview for your homemade Orange Jelly.
| Nutrient | Amount |
|---|---|
| Calories | 120 kcal |
| Total Fat | 0g |
| Saturated Fat | 0g |
| Cholesterol | 0mg |
| Sodium | 5mg |
| Total Carbohydrates | 30g |
| Dietary Fiber | 1g |
| Total Sugars | 28g |
| Protein | 3g |
| Vitamin C | 70% DV |

Orange Jelly
Ingredients
Method
- Gently wash the oranges, zest them, and extract 2 cups of fresh juice.
- Bloom the gelatin by sprinkling it over cold water and letting it sit for 5-10 minutes.
- In a medium saucepan, combine the orange juice, boiling water, sugar, and lemon juice. Heat until the sugar dissolves.
- Remove from heat and whisk in the bloomed gelatin until dissolved. Add optional flavoring.
- Stir in the orange zest and pour the mixture into a pan or molds.
- Chill in the refrigerator for at least 4-6 hours until set.
Notes

Hi there, I’m chef living in New York City. Every morning, I wake up to the sounds of my little one’s laughter and the comforting routine of preparing breakfast for my family my husband, our child, and my beloved mother, who’s become both my rock and my inspiration since my father passed away. As the only daughter left in our family, I feel a deep responsibility to carry on his memory whenever I step into the kitchen.
- Dominique

- Dominique
- Dominique
- Dominique