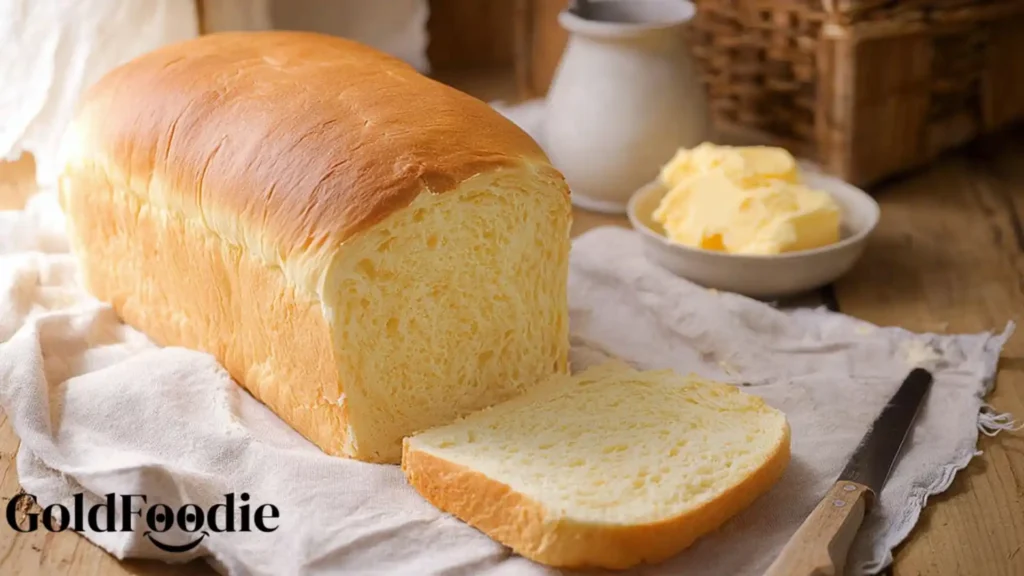
There’s nothing quite like the aroma of freshly baked bread filling your home. This Amish Milk Bread recipe brings that comforting magic straight to your kitchen. With its incredibly tender crumb and subtly sweet flavor, it’s a versatile loaf perfect for any occasion. Even if you’re new to baking, its straightforward steps make mastering this homemade staple delightfully simple. Embrace the joy of creating something wholesome and delicious from scratch.
Table of Contents
Why You’ll Love This Amish Milk Bread Recipe
This recipe isn’t just about baking; it’s about creating connection and memories with every warm slice.
- You’ll experience the pure delight of a wonderfully tender, moist, and rich white bread, far superior to anything store-bought. It truly melts in your mouth.
- Achieve consistently fluffy and perfectly golden loaves with ease, making you feel like a seasoned baker from your very first try.
- Master basic bread baking techniques through straightforward, encouraging steps that build confidence in your kitchen journey.
- Enjoy a comforting, traditional homemade staple that brings a sense of warmth and heritage to your family table.
- This Amish Milk Bread is a versatile foundation for so many meals, inviting creativity and culinary exploration.

Ingredients
Gathering your ingredients is the first step in this heartwarming journey toward a delicious Amish Milk Bread. Precision matters, so measure carefully.
- 2 1/4-ounce packets dry active yeast, or 1 1/2 tablespoons
- 1/4 cup water, warm; 95 to 110 F
- 2 cups milk, room temperature
- 1 tablespoon brown sugar, packed
- 1 teaspoon salt
- 2 tablespoons butter, soft
- 6 cups bread flour, divided
- 1 teaspoon vegetable oil
Notes & Substitutions
Using the right ingredients can make all the difference in achieving that signature fluffy texture.
Bread Flour: Bread flour has a higher protein content, which develops more gluten and gives your Amish Milk Bread its wonderful chewy yet tender structure.
Understanding the role of gluten in bread making reveals how it creates elasticity and helps the bread rise.
If you don’t have it, you can substitute all-purpose flour by adding 1 teaspoon of vital wheat gluten per cup of all-purpose flour. This boost helps replicate the texture.
Water: The quality of your water can affect yeast activity. Bottled water is often recommended because it’s free of chlorine, which can inhibit yeast. If using tap water, let it sit out for an hour to allow chlorine to dissipate.
Milk: Whole milk provides the richest flavor and most tender crumb, but low-fat milk works well too. For a dairy-free alternative, unsweetened almond milk or soy milk can be used, though they might slightly alter the bread’s richness and texture. Ensure any milk you use is at room temperature.
Sweetener: Brown sugar contributes to the bread’s soft texture and subtle sweetness. You can easily substitute it with granulated sugar, or experiment with natural sweeteners like honey or maple syrup for a different flavor profile. Adjust the amount to your taste, but a little sweetness helps activate the yeast.

Equipment
Having the right tools ready makes the baking process smoother and more enjoyable. These simple items are likely already in your kitchen.
- Large mixing bowls (at least two)
- Measuring cups and spoons
- Stand mixer with a dough hook (optional, but highly recommended for kneading)
- Rubber spatula or wooden spoon
- Two 9 x 5-inch loaf pans
- Clean kitchen towel or plastic wrap
- Wire cooling rack
How To Make Amish Milk Bread
Baking this Amish Milk Bread is a mindful process, a wonderful way to connect with the simple joy of creating. Follow these steps with patience and love, and you’ll be rewarded with two beautiful loaves.

- Activate Yeast: In a large mixing bowl, gently stir together the 2 1/4-ounce packets of dry active yeast with the 1/4 cup of warm water (95 to 110 F). Let this mixture sit for 5 to 10 minutes until it becomes foamy. This bubbling indicates your yeast is active and ready to work its magic, ensuring your Amish Milk Bread rises beautifully.
- Combine Wet Ingredients: Add the 2 cups of room temperature milk, 1 tablespoon of packed brown sugar, 1 teaspoon of salt, and 2 tablespoons of soft butter to the activated yeast mixture. Stir well with a rubber spatula or wooden spoon until all ingredients are thoroughly incorporated. The butter should blend in smoothly.
- Add Flour Gradually: Add 4 cups of the bread flour to the wet ingredients and mix well until just combined. The dough will be shaggy at this point. Continue adding enough of the remaining flour, a little at a time, to make a soft dough that gathers around the spoon or pulls away from the sides of the bowl. You might not need all 6 cups of flour.
- Knead the Dough: Turn the dough out onto a lightly floured surface. Knead the dough for 10 minutes using your hands or for 6-8 minutes with a stand mixer fitted with a dough hook. Add more flour sparingly, only as needed, until the dough is firm, smooth, and elastic to the touch. It should spring back when gently poked. This step is crucial for developing gluten, which gives Amish Milk Bread its structure.
- First Rise: Grease a large, clean bowl with 1 teaspoon of vegetable oil. Place the kneaded dough in the bowl, turning it once to ensure the top is also lightly greased. Cover the bowl with a clean cloth or plastic wrap. Let the dough rise in a warm, draft-free place for 1 hour, or until it has visibly doubled in size. This first rise allows the flavors to develop fully.
- Punch Down & Shape: After the first rise, firmly punch down the dough to release the air. Turn the dough out onto a lightly floured board and knead it gently for 5 minutes, or until all the large air bubbles are pressed out of the bread. This step helps create a fine, even crumb in your finished loaves of Amish Milk Bread.
- Second Rise: Divide the dough into 2 equal portions. Shape each dough half into a smooth, oval loaf that fits snugly into your prepared bread pans. Place each loaf into a greased 9 x 5-inch bread pan. Cover the pans again with a clean cloth. Let them rise in a warm, draft-free place for another 45 minutes, or until the loaves have doubled in size and look puffy.
- Bake Loaves: While the loaves are on their second rise, preheat your oven to 350 F (175 C). Once the loaves are risen, place them in the preheated oven. Bake for 40 minutes, or until the top is a beautiful golden brown and the bread sounds hollow when you tap it gently on the bottom.
- Cool Completely: Remove the freshly baked loaves of Amish Milk Bread from their pans immediately to prevent them from becoming soggy. Place them on a wire cooling rack to cool down completely. This allows steam to escape, preventing a gummy texture and ensuring a perfect slice every time. Enjoy the wonderful aroma as it cools!

Pro Tips for Perfect Amish Milk Bread
Achieving a perfect loaf of Amish Milk Bread is a rewarding experience. These tips will guide you to success.
- Ensure Yeast Activity: Always check that your yeast is foamy after combining it with warm water and sugar. If it doesn’t foam, your yeast might be old or the water temperature was off; start again with fresh yeast.
- Achieve Perfect Dough Consistency: The dough should be soft, pliable, and slightly tacky but not sticky. Resist the urge to add too much flour during kneading, as this can result in a dense, dry loaf.
- Control Proofing Environment: A warm, draft-free spot is ideal for rising. You can create one by preheating your oven to its lowest setting for a few minutes, then turning it off and placing the covered bowl inside.
- Customize Crust Textures: For a soft, golden crust, brush the top of the loaves with melted butter or milk before baking. For a slightly chewier crust, a water spray can be used during the first few minutes of baking.
- Recognize Perfectly Baked Bread: The internal temperature of fully baked bread should be between 190-200°F (88-93°C). King Arthur Baking Company suggests that many yeast bread recipes aim for an internal temperature of 190°F for a perfectly baked loaf. A tap on the bottom should produce a hollow sound.
- Tips for Tender Crumb and Freshness: Cooling the bread completely on a wire rack prevents a gummy texture. Once cooled, proper storage will keep your homemade Amish Milk Bread fresh and tender for longer enjoyment.

Serving, Storage, and Variations
This versatile Amish Milk Bread is a canvas for culinary creativity, and with proper care, it can bring joy for days.
Serving Suggestions: This bread is phenomenal simply sliced with a pat of butter, alongside homemade jam, or toasted. It makes incredible sandwiches, elevating even a simple turkey and cheese. Transform stale slices into a luxurious French toast or a comforting bread pudding. It’s also delightful served with soups or stews.
Storage: To maintain maximum freshness, store your cooled Amish Milk Bread in an airtight container or a large resealable bag at room temperature for up to 3-4 days. Avoid refrigeration, as it can dry out the bread more quickly.
Make Ahead: You can prepare the dough and let it have its first rise in the refrigerator overnight. The cold temperature slows down the yeast activity. Simply bring the dough back to room temperature for about 30-60 minutes before punching it down and continuing with shaping and the second rise.
Freezing: For longer storage, this bread freezes beautifully. Wrap cooled, baked loaves tightly in plastic wrap, then aluminum foil, and place them in a freezer-safe bag. They can be frozen for up to 3 months. Thaw at room temperature or warm gently in a low oven. You can also freeze unbaked loaves after the second rise; just bake directly from frozen, adding extra baking time.
Variations:
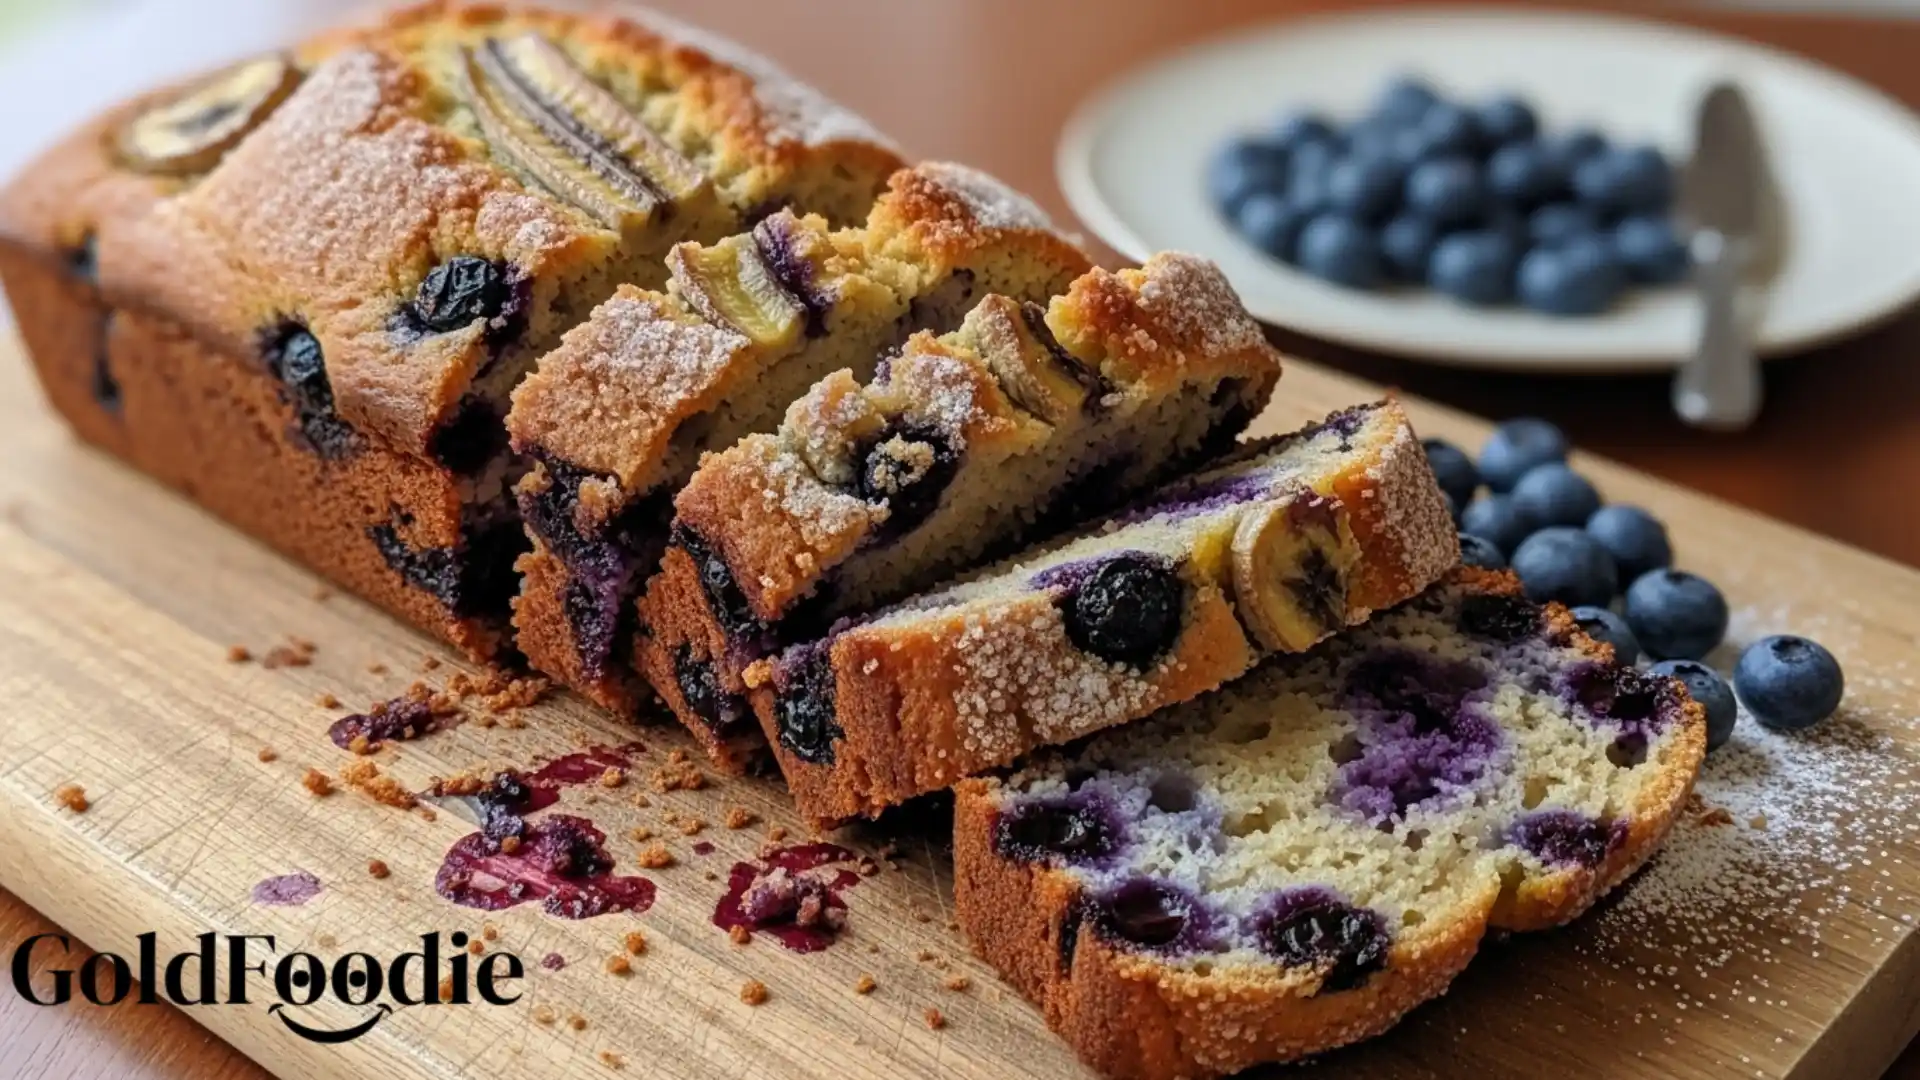
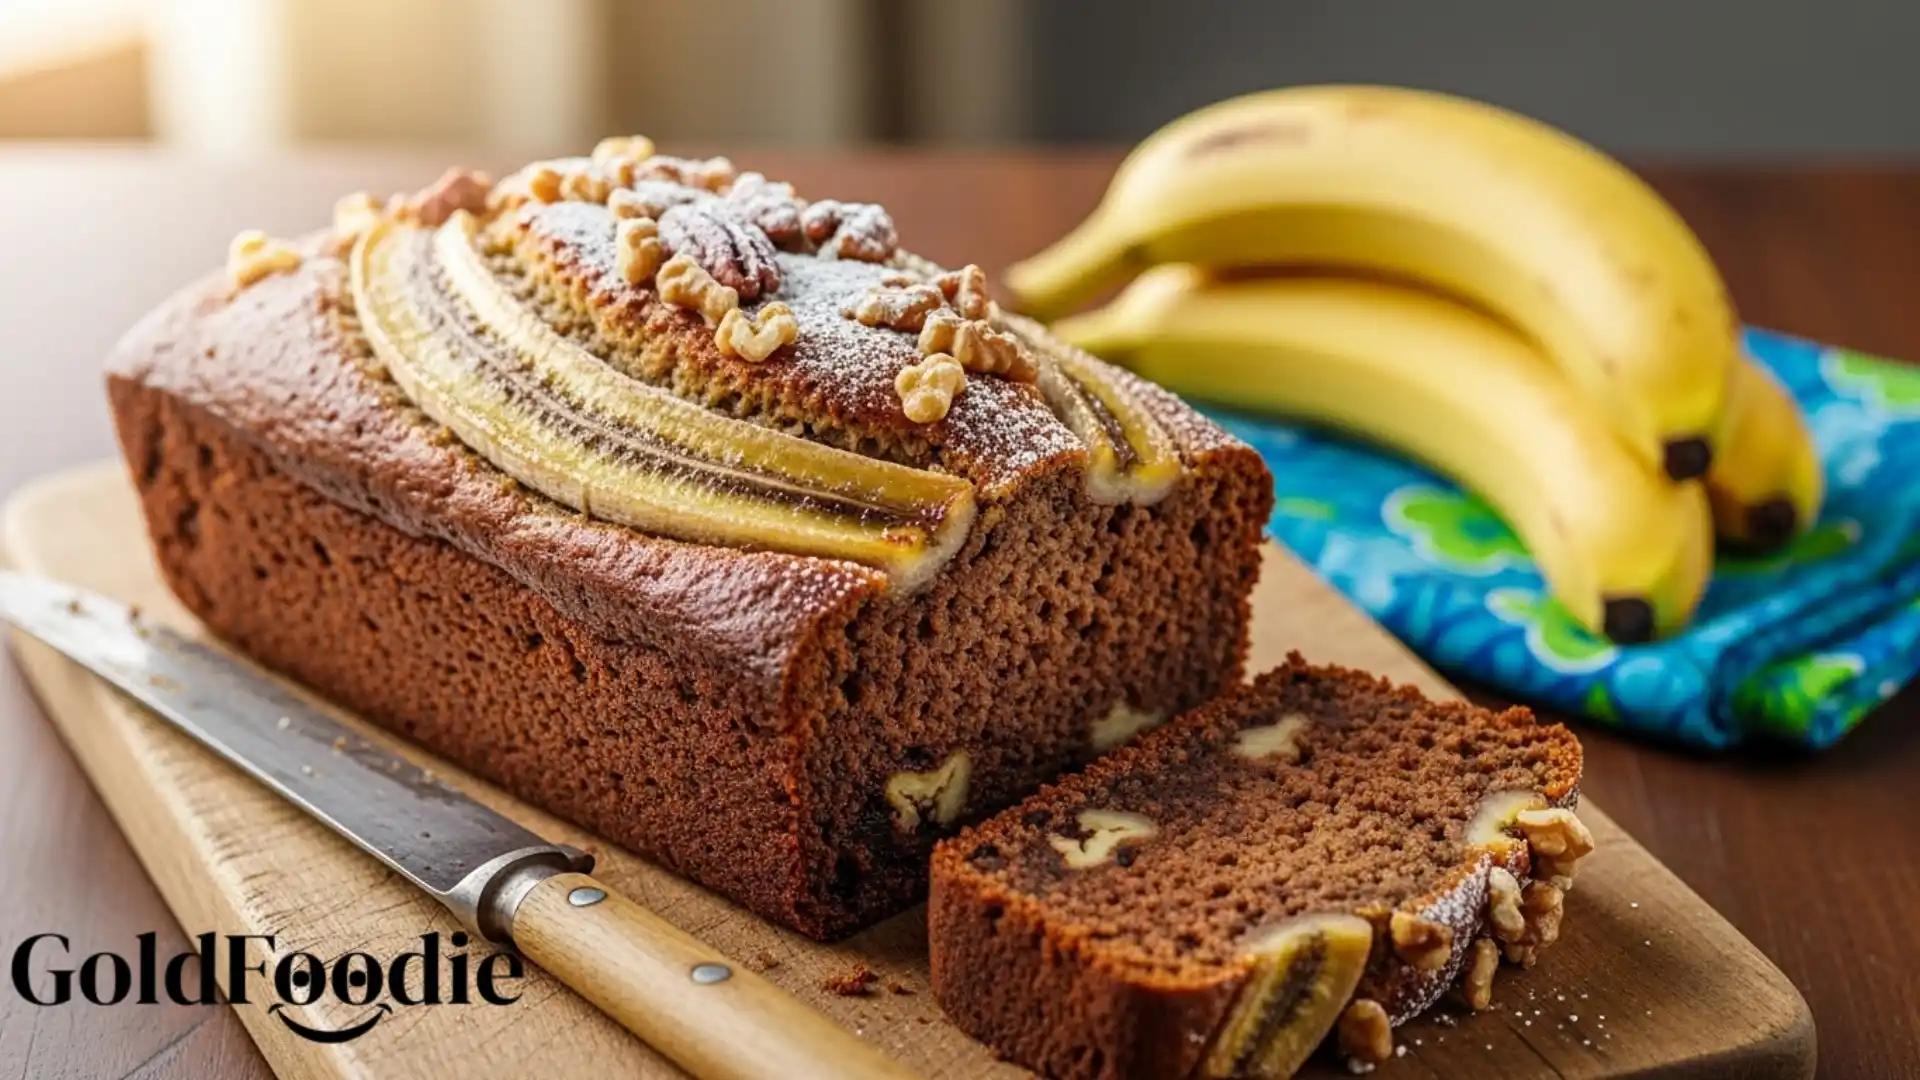
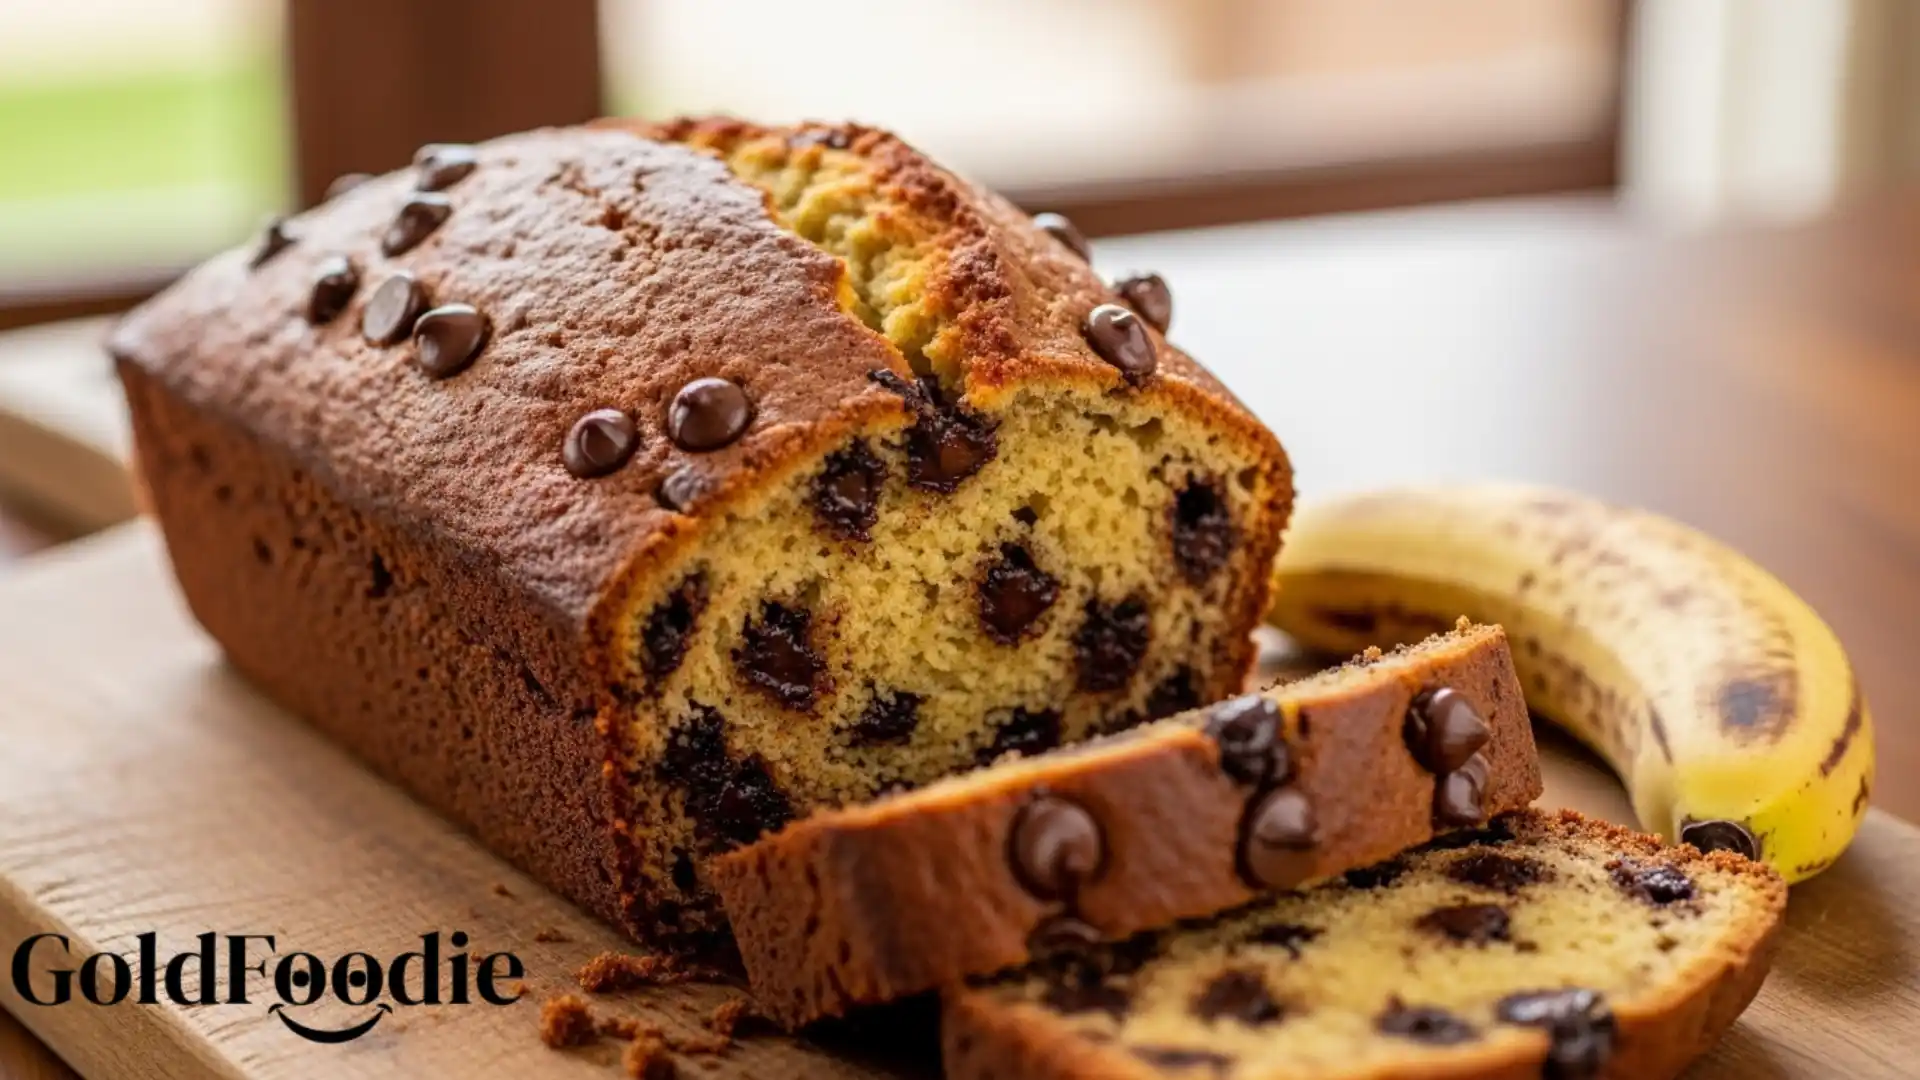
- Nuts or Dried Fruits: Fold in 1/2 cup of chopped walnuts, pecans, or dried cranberries, raisins, or apricots during the last stage of kneading for added texture and flavor.
- Different Sugars: While brown sugar adds depth, try granulated sugar for a cleaner sweetness, or a touch of maple syrup (reduce milk slightly) for a distinct flavor.
- Rolls: Instead of loaves, divide the dough into 12-16 equal pieces after the first rise, shape them into rolls, and place them in a greased baking dish. Adjust baking time accordingly (typically 20-25 minutes).
- Gluten-Free: Achieving the same texture with Gluten-Free flours can be challenging. Use a high-quality gluten-free bread flour blend with xanthan gum and follow package instructions for liquid adjustments.

Nutrition Information
Making homemade Amish Milk Bread allows you to know exactly what goes into your food, supporting wholesome eating.
Here’s an estimated nutritional breakdown per serving (approximately 1/16th of the recipe):
| Nutrient | Amount |
|---|---|
| Calories | 175 kcal |
| Fat | 2g |
| Saturated Fat | 1g |
| Unsaturated Fat | 0g |
| Carbohydrates | 32g |
| Fiber Content | 1g |
| Sugar Content | 2g |
| Protein | 6g |
| Cholesterol | 4mg |
| Sodium | 127mg |
| Vitamin C | 0mg |
| Calcium | 38mg |
| Iron | 0mg |
| Potassium | 86mg |
Disclaimer: These are estimated nutritional values per serving and may vary based on specific ingredients, preparation methods, and serving sizes.
Frequently Asked Questions (FAQ)
Baking can sometimes bring up questions, especially for beginners. Here are some common queries about making Amish Milk Bread.
What makes Amish Milk Bread different from regular white bread?
Amish Milk Bread typically uses milk as its primary liquid, alongside butter and a touch of sugar. This combination yields a distinctly richer flavor, a softer, more tender crumb, and a slightly denser texture compared to standard water-based white bread.
Why is bottled water recommended for this recipe?
Bottled water is often preferred because it lacks chlorine, which can inhibit yeast activity and prevent your dough from rising properly. If you only have tap water, let it sit out for about an hour before using to allow the chlorine to dissipate.
Can I use a stand mixer for kneading the dough?
Absolutely! A stand mixer with a dough hook is excellent for kneading and can save your arms quite a workout. Knead for about 6-8 minutes on medium-low speed until the dough is smooth and elastic.
How do I know if my yeast is still active?
To check if your yeast is active, combine it with warm water and a pinch of sugar (from the recipe’s total) and let it sit for 5-10 minutes. If it becomes foamy and bubbly, your yeast is healthy and ready to make a delicious Amish Milk Bread.
What are common mistakes to avoid when making milk bread?
Common mistakes include using water that’s too hot or cold (killing or stunning the yeast), adding too much flour (resulting in dry bread), and not kneading enough (leading to a dense loaf). Patience with rising times is also key for fluffy results.
Final Thoughts
There’s a special kind of satisfaction that comes from pulling a warm, fragrant loaf of Amish Milk Bread from your oven. This simple yet profound recipe offers more than just delicious bread; it provides an opportunity to slow down, connect with a timeless tradition, and create something truly heartwarming for your family. Its comforting aroma and tender texture make it a versatile staple you’ll cherish. So embrace the process, enjoy the journey, and savor every beautiful slice of your homemade Amish Milk Bread.

Classic Amish Milk Bread
Ingredients
Equipment
Method
- Gently stir together the yeast and warm water in a large bowl.
- Add milk, brown sugar, salt, and butter to the yeast mixture and stir well.
- Mix in 4 cups of flour, then gradually add more flour until the dough forms and follows the spoon around the bowl.
- Turn the dough onto a lightly floured surface and knead for 10 minutes until firm and smooth.
- Grease a large bowl with vegetable oil, place the dough in it, and turn to coat; cover and let rise in a warm, draft-free place for 1 hour.
- After rising, firmly punch down the dough.
- Turn the dough onto a lightly floured board and knead for 5 minutes to remove air bubbles.
- Divide the dough into 2 equal portions and shape each into a loaf.
- Place each loaf into a greased 9×5-inch bread pan, cover, and let rise for 45 minutes until doubled in size.
- Preheat the oven to 350 F and bake the loaves for 40 minutes, or until golden brown and hollow when tapped.
- Remove loaves from pans and cool on a rack before serving.
Notes

Hi there, I’m chef living in New York City. Every morning, I wake up to the sounds of my little one’s laughter and the comforting routine of preparing breakfast for my family my husband, our child, and my beloved mother, who’s become both my rock and my inspiration since my father passed away. As the only daughter left in our family, I feel a deep responsibility to carry on his memory whenever I step into the kitchen.
- Dominique

- Dominique
- Dominique
- Dominique