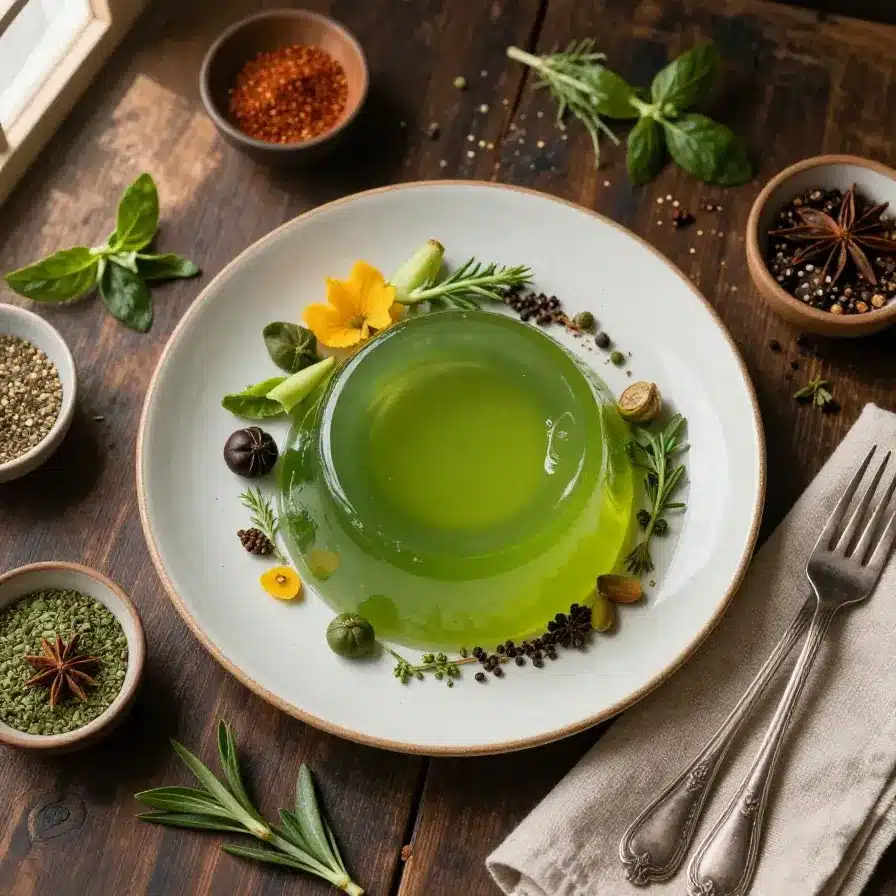
Experience the refreshing delight of Pinoy Gelatin, a vibrant, wobbly dessert that brings a burst of tropical flavor to any table. This easy-to-make treat is perfect for cooling down, offering a delightful texture and sweet taste without the added sugars often found in traditional versions. Forget complicated recipes; our Pinoy Gelatin guide simplifies healthy indulgence for everyone.
It’s a wonderful, guilt-free way to enjoy a classic Filipino favorite, ensuring long-term wellness remains a priority. This recipe empowers busy parents to create nutritious, appealing snacks.
Table of Contents
Why You’ll Love This Pinoy Gelatin Recipe
As Rocco Fuhrman, I believe healthy eating should always be a joyful experience, especially for busy parents. This delightful Pinoy Gelatin recipe embodies that philosophy perfectly. It offers a fantastic balance of taste and nutrition, making it an ideal choice for your family. Here’s why this Pinoy Gelatin will become a staple in your home:
- Effortless Preparation: Crafting this beautiful Pinoy Gelatin takes minimal effort, freeing up valuable time for other priorities. It truly is a beginner-friendly recipe.
- Refreshing & Vibrant Taste: Each bite of this Pinoy Gelatin bursts with tropical freshness, a delightful treat for any occasion, appealing to all ages.
- Diabetes-Friendly Potential: With smart ingredient swaps, this Pinoy Gelatin seamlessly fits into a balanced, low-sugar lifestyle without sacrificing flavor.
- Kid-Approved & Customizable: Children adore the playful colors and textures, and you can easily customize flavors and fruits to their liking.

Ingredients You’ll Need
Crafting a truly exceptional and healthy Pinoy Gelatin begins with selecting quality ingredients. My approach prioritizes nutrient density and mindful choices, ensuring every component contributes to your family’s well-being. Here’s what you will need for this vibrant Pinoy Gelatin:
- Sugar-Free Gelatin Powder: Choose a variety of your favorite colors and fruit flavors (e.g., strawberry, mango, green apple). Ensure they are truly sugar-free to maintain the diabetes-friendly nature of this Pinoy Gelatin.
- Unsweetened Evaporated Milk: Opt for unsweetened evaporated milk to control the overall sugar content. This provides the classic creamy richness without added sweeteners, essential for our healthy Pinoy Gelatin. Alternatively, unsweetened almond milk or cashew milk works beautifully for a dairy-free option.
- Natural Sweetener: A blend of erythritol and stevia or monk fruit is my preferred choice. These natural, zero-calorie sweeteners provide the desired sweetness without impacting blood sugar levels, making this Pinoy Gelatin truly guilt-free. Adjust the amount to your taste preference.
- Fresh Fruit: Diced mangoes, strawberries, blueberries, or melon chunks add natural sweetness, fiber, and a beautiful visual appeal to your Pinoy Gelatin. Always choose ripe, seasonal fruits for the best flavor and nutritional value.
- Water: Filtered water is essential for dissolving the gelatin and creating clear, vibrant layers for your Pinoy Gelatin. The quality of your water can subtly affect the final taste.

Substitutions & Variations
Flexibility is key in healthy cooking, especially for busy parents. This Pinoy Gelatin recipe is incredibly adaptable, allowing for simple swaps that cater to various dietary needs and preferences while maintaining its delightful essence. Remember, every adjustment you make should align with your wellness goals for this Pinoy Gelatin.
- Milk Alternatives: For a completely dairy-free Pinoy Gelatin, substitute unsweetened evaporated milk with unsweetened full-fat coconut milk (for richness) or unsweetened oat milk. These options maintain a creamy texture without dairy, and still yield a fantastic Pinoy Gelatin.
- Sweetener Swaps: If you prefer other natural sweeteners, allulose or xylitol (use with caution around pets) can also work. Always taste and adjust to your preference, ensuring the Pinoy Gelatin remains balanced in sweetness.
- Fruit Combinations: Experiment with different fruit medleys. Grapes cut in half, kiwi slices (avoid fresh pineapple as it can prevent gelatin from setting due to an enzyme called bromelain), or even a mix of berries add variety and different nutritional profiles to your Pinoy Gelatin.
- Flavor Boosters: A few drops of pure vanilla extract or a hint of pandan extract can elevate the flavor profile of your Pinoy Gelatin. These subtle additions introduce a new layer of complexity to the Pinoy Gelatin.
- Plant-Based Gelatin: For a vegan Pinoy Gelatin, use agar-agar flakes or powder instead of animal-based gelatin. Follow the package instructions for proper ratios, as agar-agar sets differently and often firmer than traditional gelatin, resulting in a slightly different texture for your Pinoy Gelatin.
[ra_display_video url=”https://www.youtube.com/watch?v=3gaxBVZeuBI”]
For those looking to enhance their healthy cooking repertoire, our recipe for Parmesan Chicken Meatloaf offers a great source of protein that pairs well with a light dessert like Pinoy Gelatin.
Equipment You’ll Need
Having the right tools makes any cooking process smoother and more enjoyable. This list covers the essentials for preparing your healthy Pinoy Gelatin efficiently, making your kitchen experience stress-free. Every item here contributes to a seamless Pinoy Gelatin creation.
- Measuring Cups and Spoons: Crucial for accurate ingredient measurements, ensuring the gelatin sets correctly and the sweetness is just right for your Pinoy Gelatin.
- Mixing Bowls: You will need several bowls for preparing different gelatin layers and the creamy milk mixture. Glass bowls are ideal for visibility when making Pinoy Gelatin.
- Whisk: Essential for thoroughly dissolving the gelatin powder and combining the milk mixture smoothly, preventing lumps in your Pinoy Gelatin.
- Rectangular Pan or Molds: A 9×13-inch baking dish is common for larger batches of Pinoy Gelatin. Individual molds or silicone molds also work wonderfully for single servings.
- Sharp Knife: For cleanly dicing fruits and cutting the set Pinoy Gelatin into appealing squares or diamonds.
- Small Saucepan: For heating a portion of the water or milk mixture to help dissolve the gelatin and sweetener, ensuring a smooth Pinoy Gelatin.
Step-by-Step Instructions
Let’s demystify the process of creating this delightful Pinoy Gelatin. Each step is designed for clarity and ease, ensuring even beginner cooks can achieve a beautiful and delicious result. Follow these instructions carefully to master your homemade Pinoy Gelatin.

- Prepare Gelatin Layers: In separate bowls, prepare each flavor of sugar-free gelatin according to package directions, but use slightly less water than recommended (about 1/4 cup less per packet) for a firmer set. Pour each color into a shallow pan (or individual molds) to a thickness of about 1/2 to 3/4 inch. Chill in the refrigerator for at least 2-3 hours, or until completely firm. This is crucial for the structure of your Pinoy Gelatin.
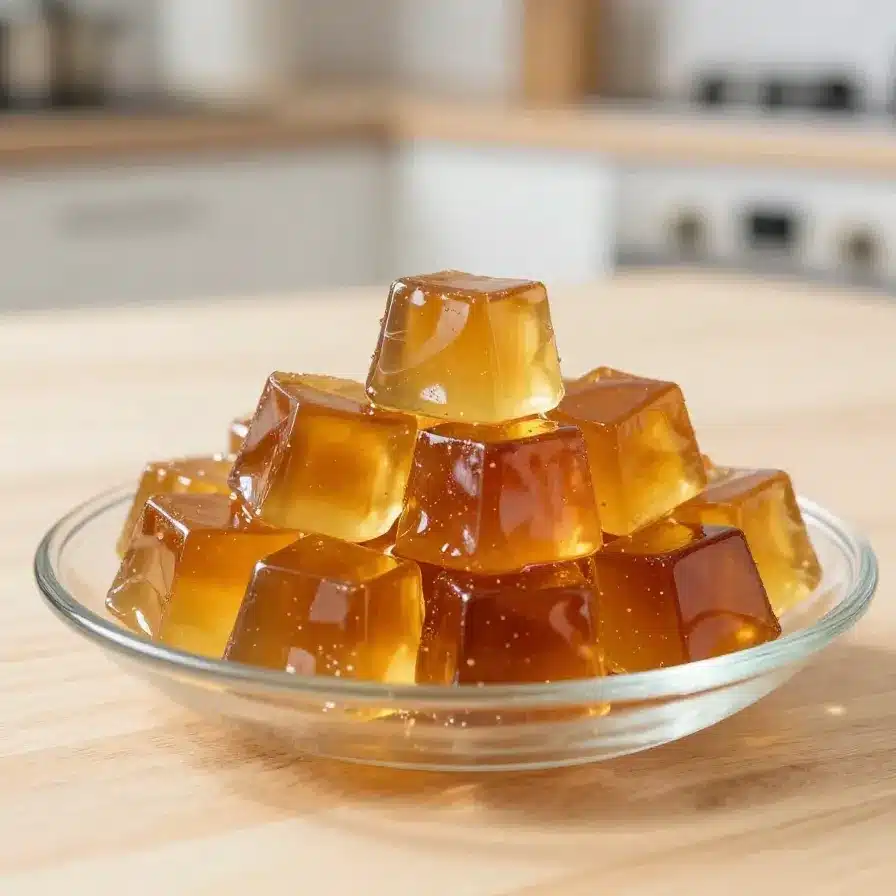
- Dice Gelatin Cubes: Once firm, carefully cut each set gelatin layer into small, uniform cubes. Use a sharp, warm knife for cleaner cuts. Gently transfer the colorful gelatin cubes to a larger, clean 9×13-inch baking dish, distributing them evenly. These cubes form the vibrant heart of your Pinoy Gelatin.
- Prepare Milk Mixture: In a saucepan, heat about 1 cup of water (or a portion of your chosen milk alternative) until warm, but not boiling. Remove from heat and stir in the natural sweetener until fully dissolved. Add the remaining unsweetened evaporated milk (or alternative milk) and stir well. This ensures an even sweetness throughout your Pinoy Gelatin.
- Dissolve Clear Gelatin: In a separate bowl, sprinkle one packet of unflavored gelatin powder over 1/2 cup of cold water. Let it bloom for 5 minutes. Then, add the bloomed gelatin to the warm milk mixture, stirring constantly until completely dissolved. This will be the binder for your Pinoy Gelatin.
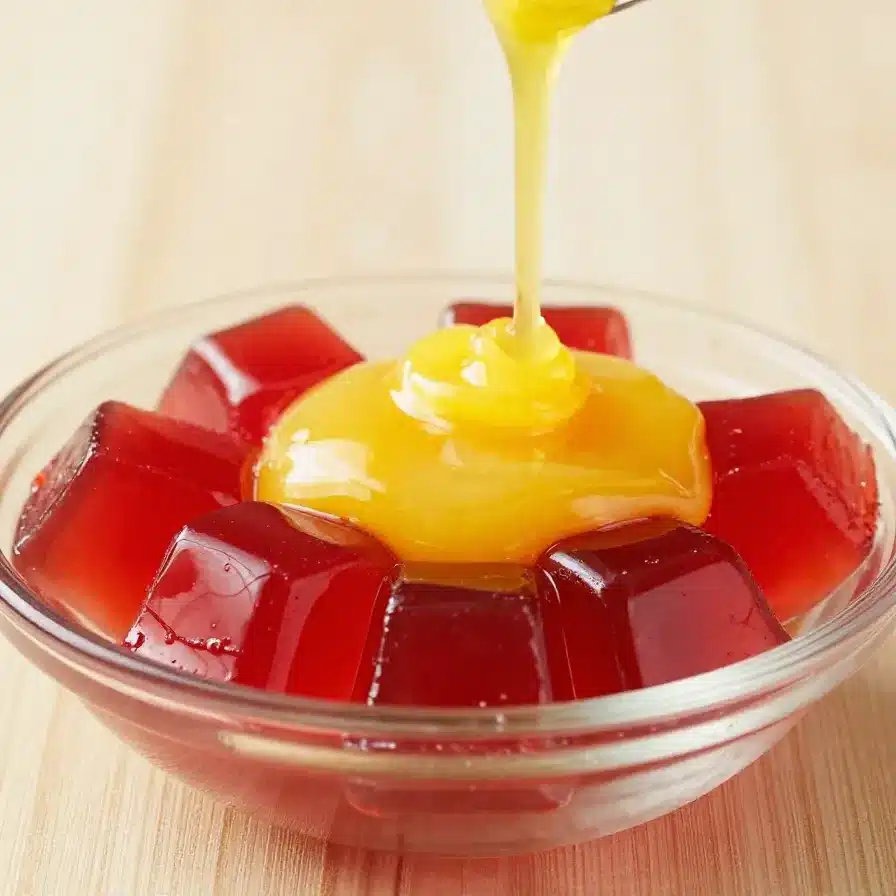
- Combine & Add Fruit: Allow the milk mixture to cool slightly (it should be lukewarm, not hot). Carefully pour the cooled milk mixture over the colorful gelatin cubes in the baking dish. Gently stir to ensure the cubes are evenly distributed and submerged. Now, fold in your desired fresh fruit pieces. This is where the aesthetic appeal of the Pinoy Gelatin truly comes alive.
- Chill & Set: Cover the baking dish with plastic wrap and return it to the refrigerator. Chill for at least 4-6 hours, or preferably overnight, until the entire Pinoy Gelatin is completely set and firm. Patience here is key for a perfect Pinoy Gelatin.
- Serve: Once fully set, cut the Pinoy Gelatin into squares, rectangles, or diamond shapes. Serve chilled, garnishing with a few extra fresh fruit pieces if desired. Enjoy your homemade, healthier Pinoy Gelatin!
Mastering the art of Pinoy Gelatin can lead to more culinary adventures, such as making Mini Chicken Pot Pies, a fun and comforting dish that your family will enjoy.
Pro Tips for Success
As your guide to simplifying healthy cooking, I want to equip you with insights that elevate your Pinoy Gelatin from good to absolutely fantastic. These pro tips come from years of ensuring recipes work flawlessly every time, making your Pinoy Gelatin creation a breeze.

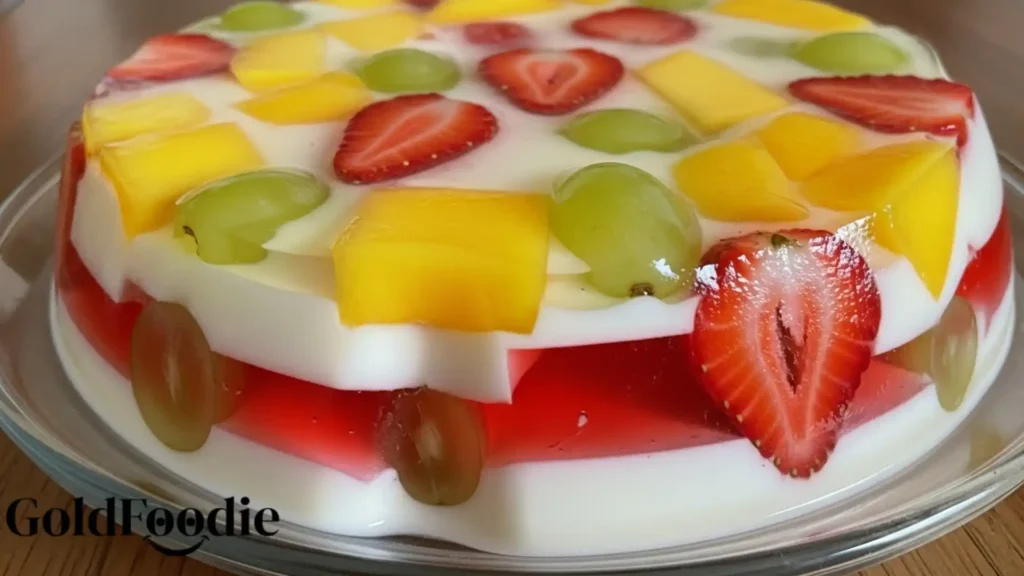
- Layering for Visual Appeal: For a more striking Pinoy Gelatin, consider pouring the milk mixture in two stages. Pour half, let it partially set for about 30 minutes, then gently pour the remaining half. This helps suspend the fruit and colored gelatin cubes more evenly, preventing them from sinking to the bottom, enhancing the beauty of your Pinoy Gelatin.
- Achieving Clean Cuts: Before cutting your set Pinoy Gelatin, dip your knife in hot water and wipe it clean. This allows for smoother, cleaner slices, creating perfectly presented servings of Pinoy Gelatin. Reheat and wipe the knife after every few cuts.
- Temperature Control: Ensure your milk mixture is lukewarm (not hot) before pouring it over the set gelatin cubes. Pouring hot liquid can melt the pre-set cubes, resulting in a muddled appearance rather than distinct colors in your Pinoy Gelatin.
- Testing Sweetness: Always taste your milk mixture before adding the unflavored gelatin. This allows you to adjust the sweetness to your preference, ensuring your Pinoy Gelatin is perfectly balanced. Remember, flavors can be more subtle when chilled.
- Blooming Gelatin Properly: When using unflavored gelatin, always sprinkle it over cold water and let it bloom for 5 minutes before adding it to warm liquid. This step is crucial for complete dissolution and to prevent a grainy texture in your Pinoy Gelatin.
- Avoid Fresh Pineapple/Kiwi in Main Mix: As mentioned, enzymes in fresh pineapple and kiwi can prevent gelatin from setting. If you want to include these, add them as a garnish just before serving, not mixed into the main Pinoy Gelatin.
Storage & Reheating Tips
Proper storage is essential to maintain the freshness and delightful texture of your homemade Pinoy Gelatin, ensuring you can enjoy it for days. Since this is a chilled dessert, reheating is not applicable, but keeping it fresh is paramount for your Pinoy Gelatin.

- Refrigeration is Key: Always store your Pinoy Gelatin in an airtight container in the refrigerator. This prevents it from drying out, absorbing other food odors, and maintains its optimal chilled temperature.
- Optimal Freshness: Pinoy Gelatin is best consumed within 3-4 days. While it might last a bit longer, the texture and vibrancy of the fruits will be at their peak within this timeframe.
- Preventing Condensation: If you’re storing the Pinoy Gelatin in a dish, you can place a piece of parchment paper directly on the surface before sealing the container. This helps absorb any excess moisture and prevents a watery layer from forming on top of your Pinoy Gelatin.
To keep your Pinoy Gelatin fresh and delicious for longer, consider checking out our tips for Orange Jelly, which shares similar storage insights to preserve treats effectively.
What to Serve With This Recipe
While our Pinoy Gelatin is a delightful treat on its own, pairing it thoughtfully can enhance the experience and create a more balanced meal or snack. As Rocco Fuhrman, I advocate for holistic nutrition, and even dessert can be part of a larger, healthy picture. Consider these pairings to complement your Pinoy Gelatin beautifully.
- Light Fruit Salad: A bowl of fresh, seasonal fruit (such as berries, sliced melon, or grapes) provides additional vitamins and fiber, perfectly complementing the sweetness and texture of the Pinoy Gelatin.
- Greek Yogurt Parfait: Layers of plain Greek yogurt, a sprinkle of granola (sugar-free, if possible), and small cubes of Pinoy Gelatin create a protein-packed, satisfying dessert or breakfast.
- Grilled Chicken or Fish: For a complete meal, serve the Pinoy Gelatin as a refreshing palate cleanser after a light, protein-rich main course like grilled chicken breast or baked white fish with roasted vegetables.
- Herbal Iced Tea: A tall glass of unsweetened herbal iced tea (like mint or hibiscus) offers a refreshing beverage that won’t overpower the delicate flavors of your Pinoy Gelatin.
- Small Portion of Nuts: A handful of almonds or walnuts provides healthy fats and protein, adding a satisfying crunch and making your snack alongside Pinoy Gelatin more satiating.
Frequently Asked Questions (FAQ)
Can I use fresh pineapple or kiwi in Pinoy Gelatin?
No, unfortunately, you cannot use fresh pineapple or kiwi directly mixed into gelatin. These fruits contain enzymes (bromelain in pineapple, actinidin in kiwi) that break down the protein in gelatin, preventing it from setting properly. Canned pineapple, which has been heat-treated to deactivate these enzymes, is generally safe to use. If you want to include fresh pineapple or kiwi, add them as a garnish just before serving your Pinoy Gelatin.
How can I make my Pinoy Gelatin firmer?
To achieve a firmer Pinoy Gelatin, you have a few options. First, reduce the amount of water slightly when preparing both the flavored gelatin layers and the unflavored gelatin for the milk mixture. About 1/4 cup less per packet can make a significant difference.
Second, ensure you are using enough unflavored gelatin in the milk mixture. Double-check the package instructions for the correct ratio to water/liquid for a firm set. Lastly, allow adequate chilling time, preferably overnight, for the Pinoy Gelatin to fully solidify.
Is Pinoy Gelatin suitable for meal prepping?
Yes, Pinoy Gelatin is an excellent candidate for meal prepping! Its stable nature and refreshing qualities make it perfect for preparing ahead of time. You can make a large batch and store it in individual airtight containers for easy grab-and-go snacks or desserts throughout the week. This ensures you always have a healthy, diabetes-friendly option readily available, simplifying your meal planning and promoting consistent healthy choices with your Pinoy Gelatin.
Pinoy Gelatin, a popular dessert in the Philippines, is often enjoyed for its colorful layers and fruity flavors, making it a festive addition to celebrations. This delightful dish showcases the rich culinary heritage of the Philippines, perfectly suited for those looking to indulge in a sweet treat without the guilt, as you can learn more about in the culinary tradition.
Final Thoughts
Creating this healthy Pinoy Gelatin is more than just making a dessert; it’s about nurturing your family with love and mindful choices. You provide a refreshing, vibrant treat that delights without compromising wellness. Embrace this simple joy, knowing you’re building healthier habits, one wobbly slice of Pinoy Gelatin at a time. Empower your journey towards a healthier, happier life!
Nutrition Information (per serving)
(Based on sugar-free gelatin, unsweetened evaporated milk, natural sweetener, and mixed berries. Exact values may vary based on specific brands and fruit choices for your Pinoy Gelatin.)
| Calories: | 85 kcal |
| Total Fat: | 3g |
| Saturated Fat: | 2g |
| Cholesterol: | 10mg |
| Sodium: | 90mg |
| Total Carbohydrates: | 8g |
| Dietary Fiber: | 1g |
| Total Sugars: | 3g |
| Protein: | 6g |

Pinoy Gelatin
Ingredients
Method
- Prepare the gelatin layers according to package directions, using slightly less water for a firmer set. Chill in the refrigerator until firm.
- Dice the gelatin layers into uniform cubes and transfer them to a baking dish.
- In a saucepan, heat water or chosen milk alternative, dissolve the natural sweetener, and mix in the remaining milk.
- Bloom gelatin in cold water, then stir it into the warm milk mixture until dissolved.
- Combine the milk mixture with the gelatin cubes and fold in fresh fruit. Pour into molds.
- Chill until completely set, at least 4-6 hours or overnight.
- Cut into desired shapes and serve chilled.
Notes

Diabetes Nutrition Specialist | Healthy Diet Advocate | Founder of GoldFoodie.
My passion for nutrition began with a deeply personal journey supporting my father through his battle with diabetes. Watching his daily struggles made me realize how powerful the right food choices can be in improving quality of life. That experience drove me to dedicate my career to helping others live healthier, more balanced lives.
- Rocco Fuhrman

- Rocco Fuhrman
- Rocco Fuhrman
- Rocco Fuhrman