Experience a refreshing twist on your dessert routine with coffee gelatin desserts! These delightful treats combine the rich flavor of coffee with a light, jiggly texture, offering an energizing pick-me-up any time of day. Originating from Japan, where they are incredibly popular, these no-bake wonders are simple to make and perfect for cooling down.
According to Voyapon, the introduction of coffee jelly to Japan dates back to the early 20th-century, gaining significant popularity during the Taisho period.
Table of Contents
Why You’ll Love This Recipe
You’ll find plenty of reasons to adore these coffee gelatin desserts:
- Delicious and Refreshing Taste: Enjoy the rich, aromatic flavor of coffee in a unique, cool format.
- Effortless No-Bake Preparation: Skip the oven with this simple, chill-to-set recipe, perfect for busy schedules.
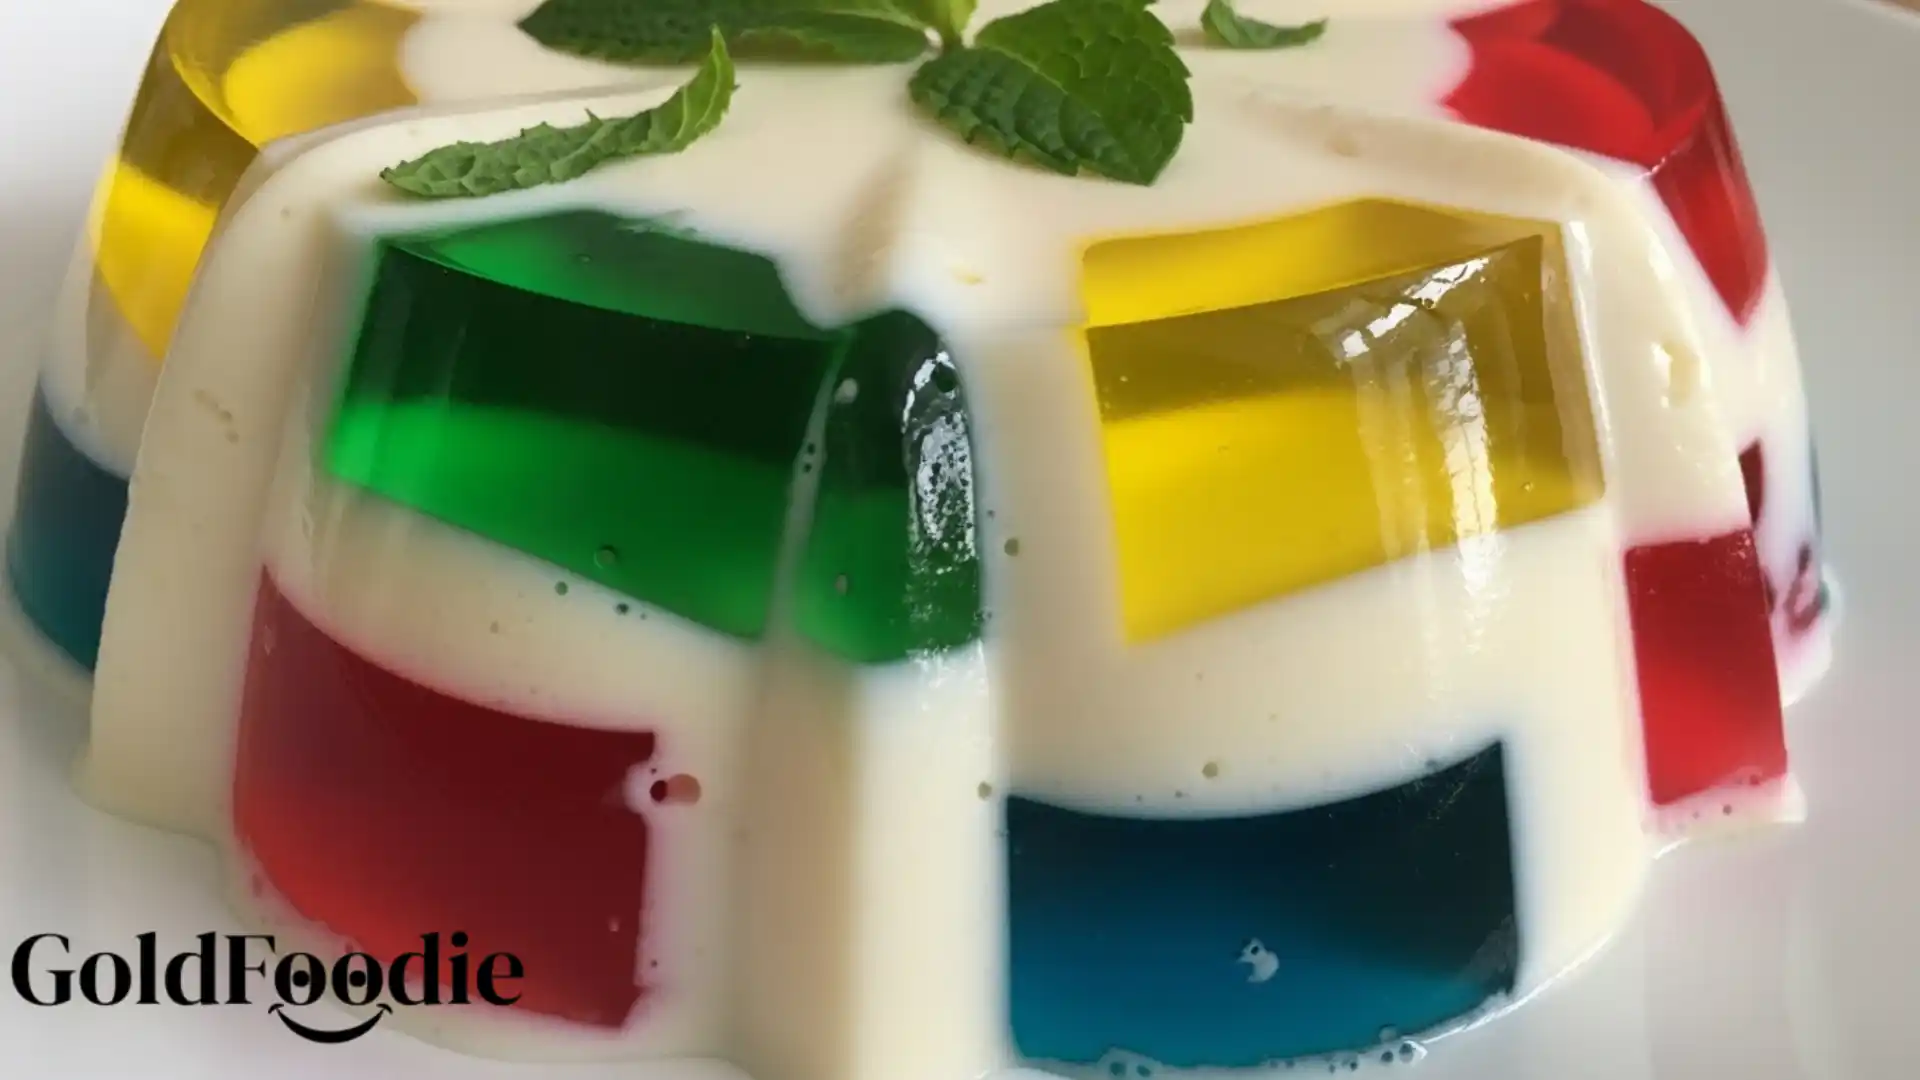
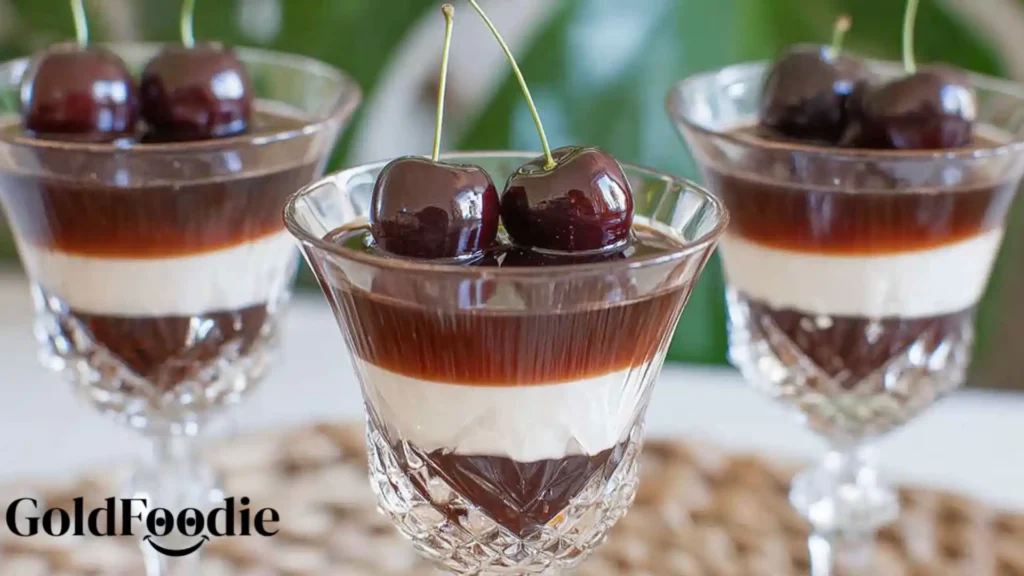
- Impressive, Easy Party Dessert: Layered gelatin cups look sophisticated but require minimal effort to create.
- Made with Readily Available Ingredients: You likely have most of what you need in your pantry right now.
- Perfect for Coffee Enthusiasts: This recipe truly celebrates the beloved beverage in a new, exciting way.

Ingredients
To create these delicious coffee gelatin desserts, you will need two main components: the coffee gelatin and the milk gelatin.
For Coffee Gelatin:
- 4 tablespoon water
- 1 tablespoon unflavored gelatin powder
- 1 ½ cups water
- 50 grams granulated sugar
- 4 teaspoon instant coffee, or to taste
For Milk Gelatin:
- 5 teaspoon water
- 1 ¼ teaspoon unflavored gelatin powder
- 1 cup half & half
- 25 grams granulated sugar
Optional Toppings:
- Whipped cream
- Mint leaves
- Coffee beans
- Fresh fruit
Notes & Substitutions
Unflavored gelatin powder is easiest to use here; it comes in small packets. You can substitute gelatin sheets, just follow package directions for blooming. Adjust granulated sugar in both layers to suit your taste, adding more for a sweeter treat or less for a bolder coffee flavor. For the best instant coffee flavor, use a high-quality brand you enjoy drinking. If you prefer, substitute Half & Half with whole milk, heavy cream, or even a non-dairy option like oat milk or almond milk for the milk gelatin layer. Popular topping ideas include a dollop of whipped cream, a sprinkle of cocoa powder, or a few fresh berries.
Equipment
Gathering your tools beforehand makes the process smoother. You will need:
- Small bowls for blooming gelatin
- Medium pots for heating mixtures
- Whisk for dissolving ingredients
- Measuring cups and spoons for accuracy
- Ladle for careful pouring
- Serving cups or molds for setting the desserts
How To Make Coffee Gelatin Desserts
Crafting your beautiful layered coffee gelatin desserts is a straightforward process. Follow these steps for perfect results.
Make Coffee Gelatin
- Chill serving cups. Place your chosen cups or molds in the refrigerator. Chilling helps the gelatin set faster and prevents the first layer from sticking.
- Bloom gelatin. Pour 4 tablespoons of cold water into a small bowl. Sprinkle 1 tablespoon of unflavored gelatin powder evenly over the water. Let it sit for 5 minutes until it becomes a soft, jelly-like mass. This process is called blooming and ensures a smooth texture.
- Heat water and sugar. In a medium pot, combine 1 ½ cups of water and 50 grams of granulated sugar. Bring the mixture to a gentle boil, stirring until all the sugar completely dissolves. Turn off the heat once dissolved.
- Stir in instant coffee. Add 4 teaspoons of instant coffee (or adjust to your preferred strength) into the hot sugar water. Stir until fully dissolved. Taste and adjust coffee or sugar if needed. Strain the mixture if any coffee bits remain.
- Dissolve bloomed gelatin. Add the bloomed gelatin into the hot coffee mixture. Whisk continuously until the gelatin completely dissolves and no lumps remain.
- Pour first layer. Carefully transfer half of the coffee mixture into your chilled serving cups, filling each approximately one-third full. Use a small ladle to ensure even distribution.
- Refrigerate until set. Place the filled cups in the refrigerator for 30 to 60 minutes, or until the coffee gelatin layer is firm to the touch.
- Keep remaining coffee mixture. Leave the remaining half of the coffee mixture at room temperature. This prevents it from solidifying before you are ready for the final layer. If it starts to set, gently rewarm it.
Make Milk Gelatin
- Bloom gelatin. In a separate small bowl, sprinkle 1 ¼ teaspoons of unflavored gelatin powder over 5 teaspoons of cold water. Allow it to bloom for 5 minutes.
- Gently heat half & half and sugar. In another medium pot, combine 1 cup of Half & Half with 25 grams of granulated sugar. Heat over low-medium heat, stirring occasionally, until steam appears and small bubbles form around the edges. Crucially, do not boil the milk, as this can affect the gelatin’s setting power. Turn off the heat once the sugar dissolves.
- Dissolve bloomed gelatin. Add the bloomed gelatin into the warm milk mixture. Whisk until the gelatin completely dissolves and the mixture is smooth.
- Cool milk mixture. Let the milk mixture cool down to room temperature. This is vital to prevent it from melting the set coffee layer when you pour it.
- Pour milk mixture. Once the milk mixture is cool and the first coffee layer is set, carefully pour the milk mixture evenly over the coffee layer in each cup.
- Refrigerate until set. Return the cups to the refrigerator. Chill for another 30 to 60 minutes, or until the milk gelatin layer is firm.
Final Assembly
- Pour remaining coffee mixture. Once the milk layer is fully set, gently pour the remaining coffee mixture over the milk layer in each cup. If your reserved coffee mixture has solidified, gently rewarm it over very low heat until liquid again, ensuring it’s not too hot before pouring.
- Refrigerate thoroughly. Place the coffee gelatin desserts back into the refrigerator. For the best texture and full setting, refrigerate for a minimum of 4 hours, or ideally 8 hours or overnight.
- Add desired toppings. Just before serving, garnish your chilled coffee gelatin desserts with your chosen toppings.


Pro Tips & Troubleshooting
Achieving perfect coffee gelatin desserts is easy with a few expert tips.
According to King Arthur Baking, gelatin acts as a thickening agent, requiring hydration in cold water before dissolving in hot liquid to create a soft, creamy texture.
- Proper gelatin blooming: Always sprinkle gelatin powder over cold water first. This prevents clumps and ensures it dissolves smoothly.
- Avoid boiling gelatin: Never boil any mixture after adding gelatin. High heat can break down the protein structure, preventing it from setting correctly.
- Chill cups/molds: Refrigerating your serving cups beforehand helps the first gelatin layer set quicker and makes subsequent layers adhere better.
- Pouring temperatures: Ensure each layer is cool but still liquid before pouring it over a set layer. Pouring hot liquid on cold gelatin will melt the previous layer.
- Cool mixtures quickly: To speed up cooling, place your pot of gelatin mixture in an ice bath, stirring gently until it reaches room temperature.
- Re-liquefying gelatin: If a gelatin mixture sets prematurely before you can pour it, gently warm it over very low heat, stirring constantly, until it becomes liquid again. Do not boil.

Serving & Storage
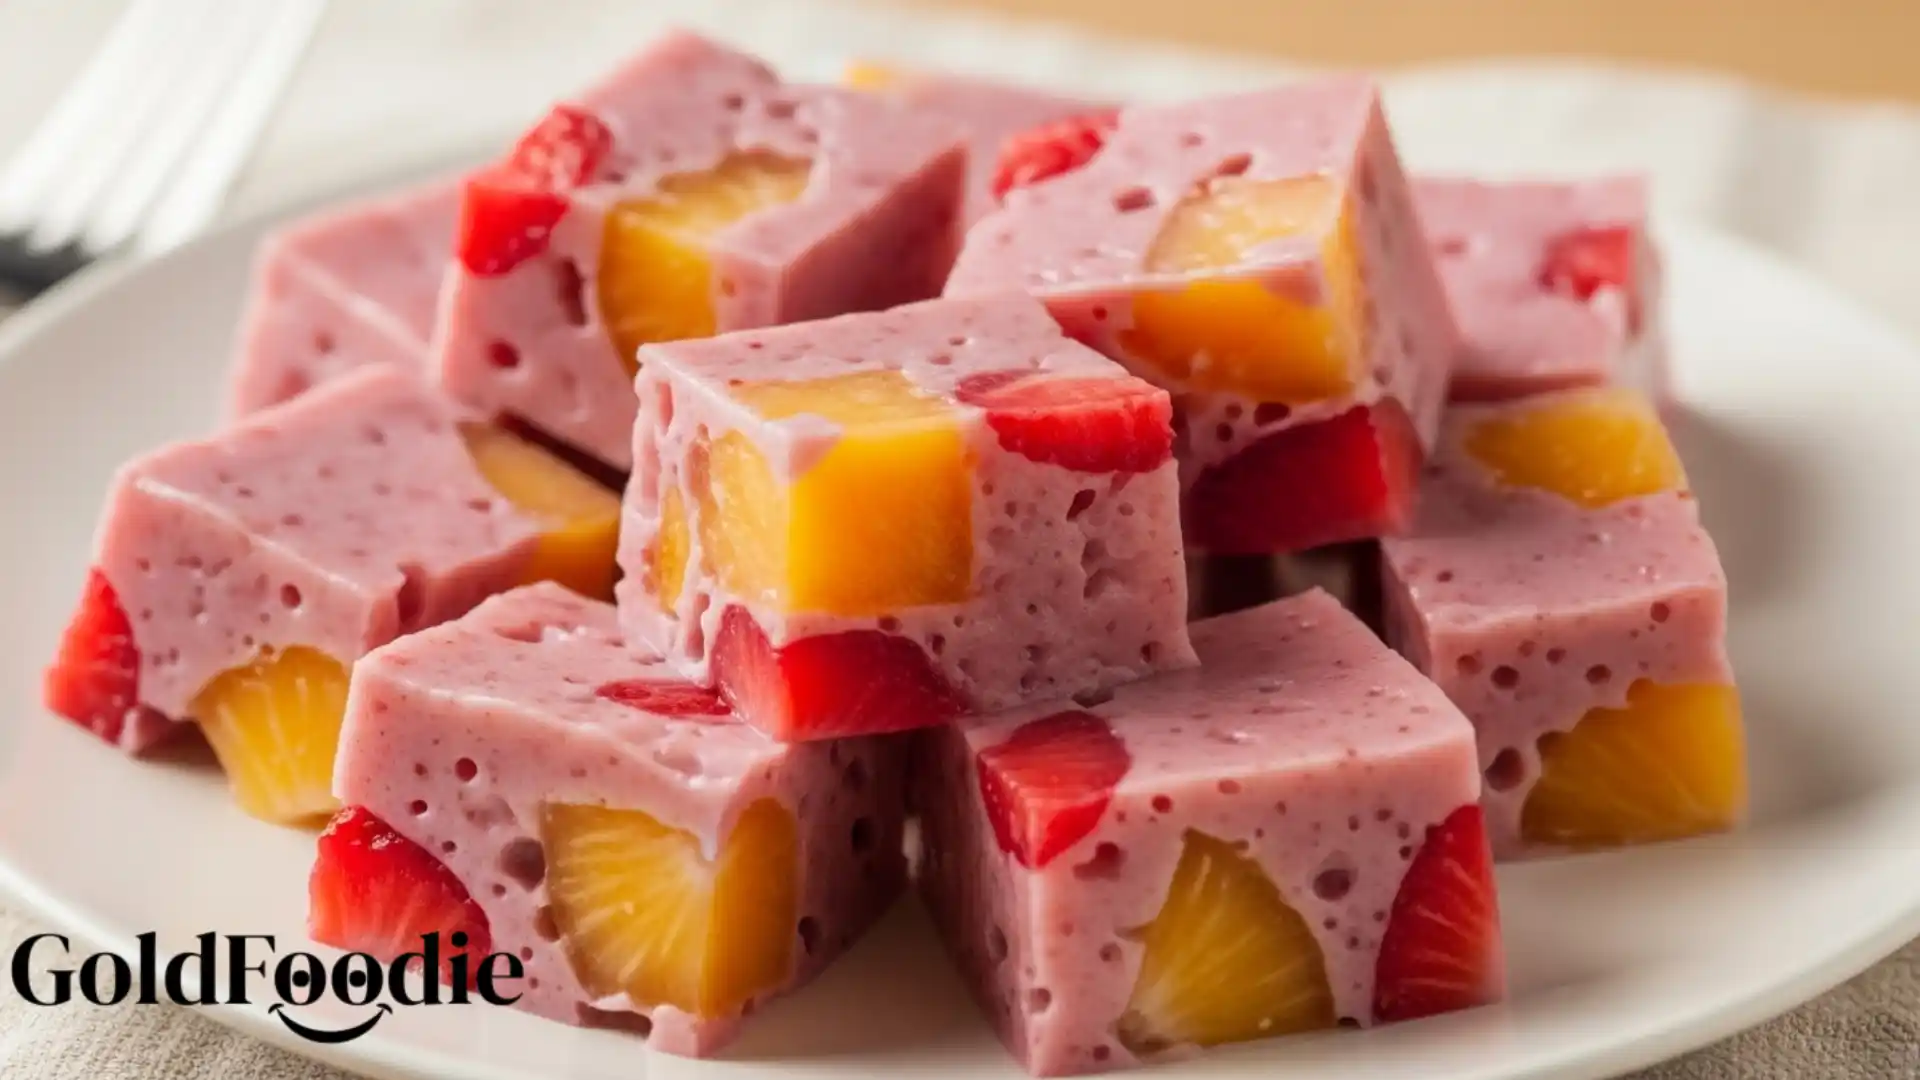
These versatile coffee gelatin desserts offer various delightful serving options. Serve them as elegant individual parfaits in clear cups to showcase their beautiful layers. You can also unmold the firm gelatin onto plates, cut them into decorative cubes, or even incorporate them into a larger dessert platter.
Consider them a standalone treat, a light ending to a meal, or even a unique component in a coffee-themed spread. For a popular Japanese presentation, chop the coffee gelatin into small cubes and add them to a glass of milk or cream, creating a “coffee jelly latte.”
To store your finished coffee gelatin desserts, cover them tightly with plastic wrap or place them in an airtight container. Keep them refrigerated. They will maintain their best texture and flavor for up to 3–4 days. Beyond that, the texture might begin to degrade slightly.
Variations
Explore these creative twists to customize your coffee gelatin desserts:
- Coffee strength: Experiment with strong espresso for an intense flavor, or use decaf instant coffee for an evening treat.
- Alternative flavors: Replace coffee with matcha powder for a vibrant green tea jelly, or use cocoa powder for a rich chocolate version.
- Different garnishes: Top with chocolate shavings, toasted nuts, a sprinkle of cinnamon, or even a drizzle of caramel sauce.
- “Coffee jelly latte”: Dice the coffee gelatin into small cubes and layer them in a glass with cold milk, a splash of cream, and a touch of sweetener.

Nutrition
Understanding the nutritional aspects of your homemade treats can help you make informed choices.
| Nutrient | Amount |
|---|---|
| Serving Size | 1 |
| Calories | 136 calories |
| Carbohydrate Content | 21 grams |
| Cholesterol Content | 15 milligrams |
| Fat Content | 5 grams |
| Fiber Content | 2 grams |
| Protein Content | 4 grams |
| Saturated Fat Content | 3 grams |
| Sodium Content | 175 milligrams |
| Sugar Content | 14 grams |
| Trans Fat Content | 0 grams |
| Unsaturated Fat Content | 2 grams |
Please note: Nutritional information is an estimate based on the ingredients listed and may vary depending on specific brands and exact measurements used.
Frequently Asked Questions (FAQ)
What is coffee gelatin (coffee jelly)?
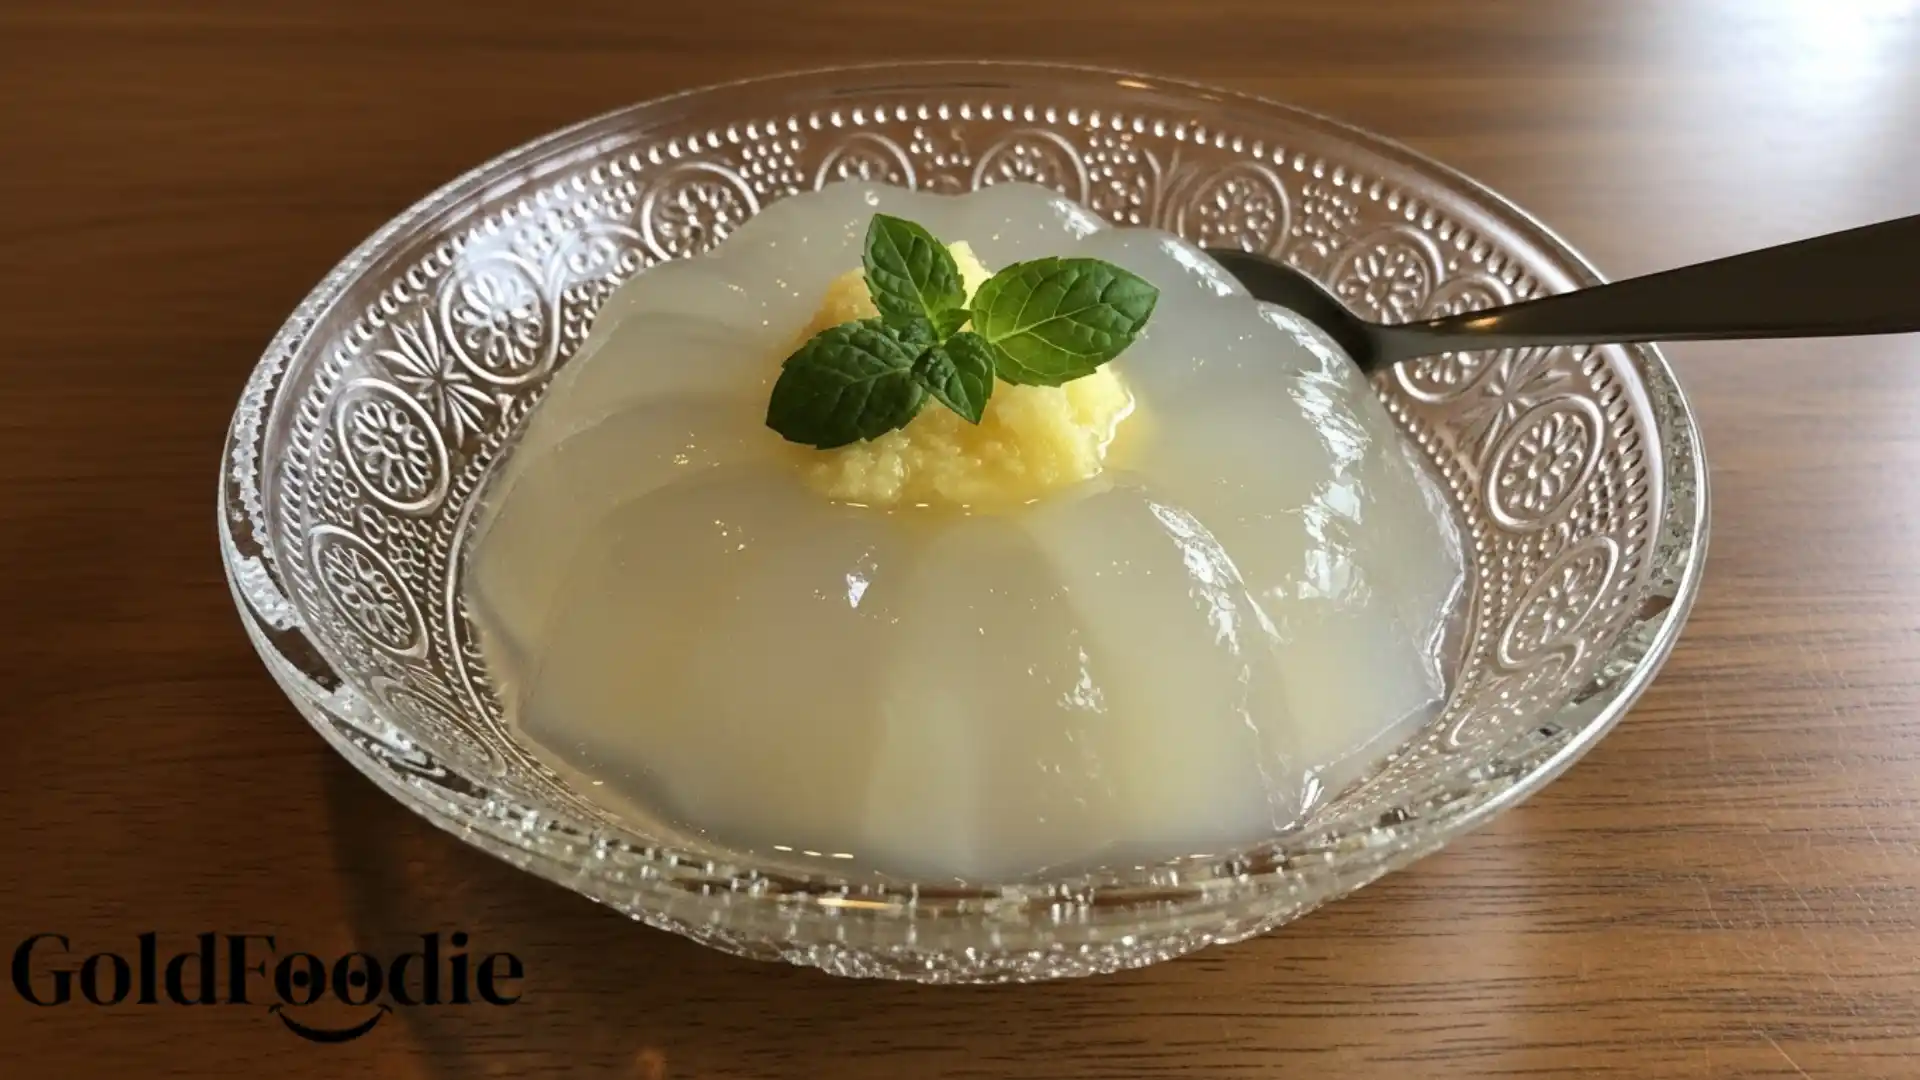
Coffee gelatin is a Japanese dessert made from coffee, sugar, and gelatin, resulting in a firm, jiggly coffee-flavored treat often served with cream. It offers a refreshing, slightly bitter, and sweet flavor profile.
Can I use freshly brewed coffee?
Yes, you can use freshly brewed coffee instead of instant coffee. Just ensure it is strong; you may need to reduce the water slightly to keep the coffee flavor intense.
How long does it take for coffee gelatin to set?
Each layer typically sets in 30-60 minutes in the refrigerator. For the final dessert, a minimum of 4 hours, or ideally 8 hours or overnight, ensures the best firm texture.
Can I make coffee gelatin desserts vegan?
Yes, you can make this recipe vegan by substituting gelatin with agar-agar powder and using a plant-based milk or cream alternative. Follow the agar-agar package instructions for ratios.
How long do coffee gelatin desserts last in the fridge?
When stored in an airtight container in the refrigerator, these delicious coffee gelatin desserts stay fresh for 3 to 4 days.
Final Thoughts
Creating your own coffee gelatin desserts is a delightful journey into the world of simple, elegant no-bake treats. This recipe empowers you to make a refreshing, flavorful dessert with minimal effort and readily available ingredients. Whether you’re a coffee lover or simply seeking a unique sweet treat, these layered gelatin cups are sure to impress. We encourage you to try this fun recipe today! Share your creations and thoughts in the comments below.
“`

Easy Coffee Gelatin Desserts: A No-Bake Japanese Treat
Ingredients
Equipment
Method
- Refrigerate your serving cups; then, in a small bowl, sprinkle gelatin powder over 4 tablespoons of water and let it bloom for 5 minutes.
- In a medium pot, bring 1 ½ cups of water and 50 grams of sugar to a boil until the sugar dissolves, then turn off the heat.
- Stir in the instant coffee to taste, and if necessary, strain the mixture to remove any coffee bits before stirring in the bloomed gelatin until fully dissolved.
- Carefully ladle half of the coffee mixture into the chilled cups, filling each about one-third full, and place them in the fridge to set for 30 minutes to an hour, reserving the remaining mixture at room temperature.
- In a separate small bowl, sprinkle 1 ¼ teaspoon of gelatin powder over 5 teaspoons of water and let it bloom for 5 minutes.
- In a clean medium pot, gently heat 1 cup of half & half and 25 grams of sugar until steam and small bubbles appear and the sugar is dissolved, being careful not to boil it, then remove from heat.
- Stir the bloomed gelatin into the warm milk mixture until completely dissolved, then set aside to cool while checking if the first coffee jelly layer has set.
- Once the milk mixture has cooled and the first coffee layer is firm, carefully divide the milk mixture evenly among the cups and refrigerate for another 30 minutes to an hour to set.
- After the milk jelly has set, evenly pour the reserved coffee mixture over the milk layer in each cup, then refrigerate for a minimum of 4 hours, or ideally overnight, for the best results.
- Before serving, optionally top the set coffee gelatin desserts with whipped cream, mint leaves, coffee beans, fresh fruit, or an extra drizzle of half & half.
Notes

Diabetes Nutrition Specialist | Healthy Diet Advocate | Founder of GoldFoodie.
My passion for nutrition began with a deeply personal journey supporting my father through his battle with diabetes. Watching his daily struggles made me realize how powerful the right food choices can be in improving quality of life. That experience drove me to dedicate my career to helping others live healthier, more balanced lives.
- Rocco Fuhrman

- Rocco Fuhrman
- Rocco Fuhrman
- Rocco Fuhrman